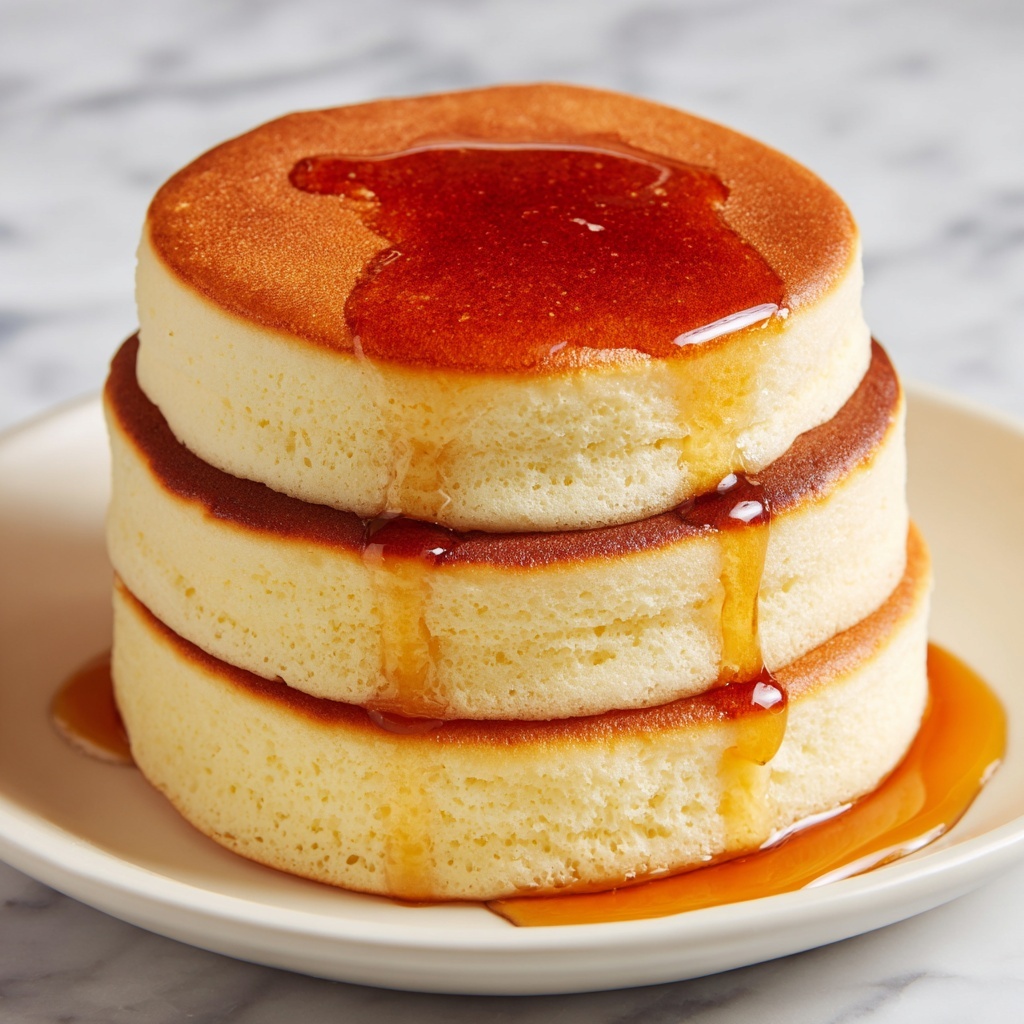
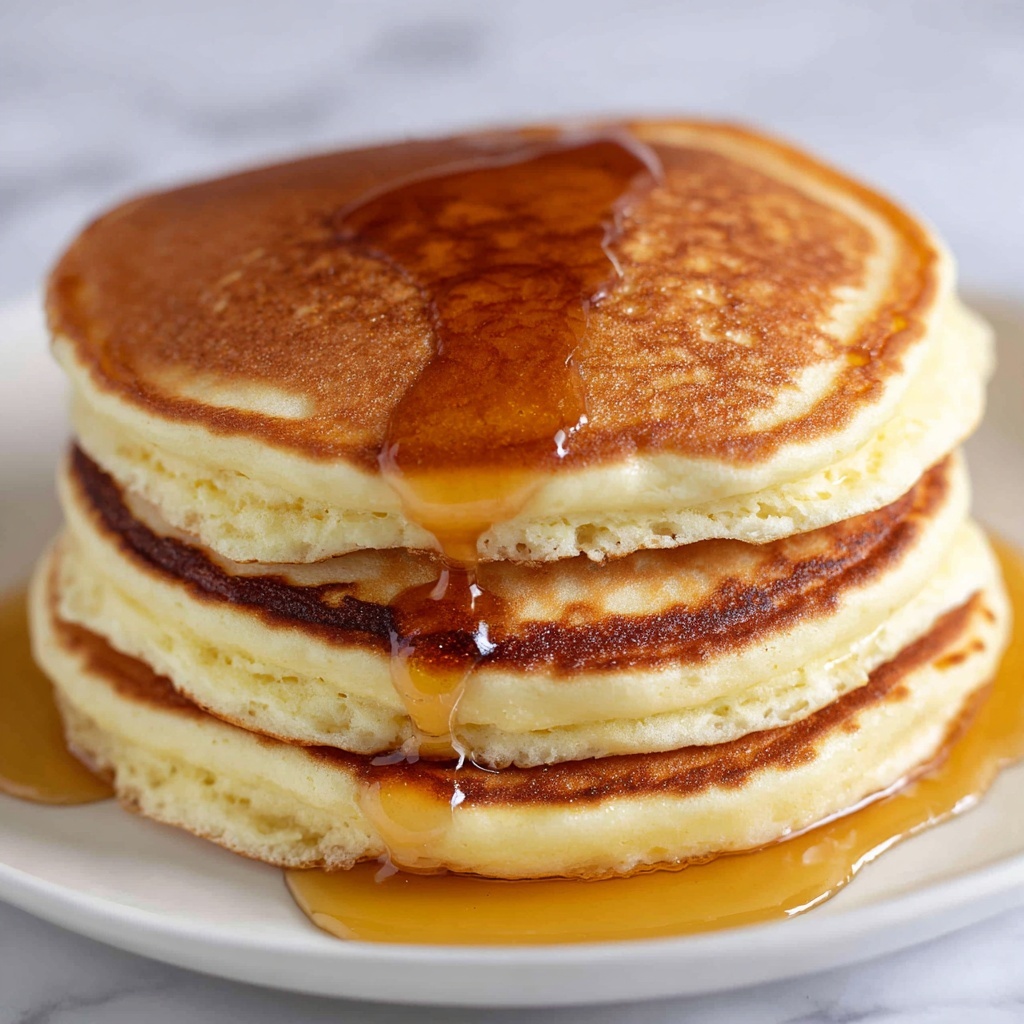
If you’re on the lookout for a delightful treat that feels like a warm hug on a plate, this Pikelets Recipe is just the thing for you. Lightly golden and perfectly fluffy, these little pancakes offer a gentle sweetness and tender bite that makes every bite utterly irresistible. Whether it’s a lazy weekend breakfast or a cozy tea-time snack, these pikelets bring joy with their simple ingredients and quick preparation, delivering comforting flavor in every mouthful.
Ingredients You’ll Need
Gathering the right ingredients for this Pikelets Recipe is both straightforward and a joy because each element plays an essential role in creating their soft texture and inviting flavor. From the richness of the buttermilk to the delicate lift of baking powder, every ingredient enhances the final bite.
- 1 cup all-purpose flour: The foundation that gives pikelets their structure and tender crumb.
- 1 tablespoon granulated sugar: Adds just the right hint of sweetness without overpowering.
- 1 teaspoon baking powder: The secret to those delightful fluffy bubbles inside each pikelet.
- 1/4 teaspoon baking soda: Helps achieve a light texture by reacting with the buttermilk’s acidity.
- 1/4 teaspoon salt: Balances flavors perfectly, ensuring nothing tastes flat or dull.
- 1 cup buttermilk: Brings tangy moisture that keeps pikelets moist and flavorful.
- 1 large egg: Binds ingredients and adds richness for a tender bite.
- 2 tablespoons melted butter, plus extra for cooking: Infuses buttery flavor and keeps each pikelet golden and tender.
How to Make Pikelets Recipe
Step 1: Mix the Dry Ingredients
Begin by whisking together the flour, sugar, baking powder, baking soda, and salt in a large bowl. This ensures that all your raising agents are evenly distributed, which is key to a consistent texture throughout your pikelets.
Step 2: Whisk the Wet Ingredients
In a separate bowl, combine the buttermilk, egg, and melted butter. This mixture not only adds moisture but also richness and tang that balance out the sweetness beautifully.
Step 3: Combine Wet and Dry
Pour the wet ingredients into the bowl with your dry ingredients. Stir gently until just combined; it’s important not to overmix here. A few lumps are perfectly fine and will help keep your pikelets tender and soft.
Step 4: Heat and Grease the Skillet
Warm your non-stick skillet or griddle over medium heat and lightly brush it with butter. This step ensures that the pikelets don’t stick and develop that perfect golden crust we all love.
Step 5: Cook the Pikelets
Drop tablespoon-sized dollops of batter onto the skillet. Cook them for about 1 to 2 minutes until you see bubbles form on the surface and the edges start to look set. Then, flip gently and cook the other side for another 1 to 2 minutes until they turn a perfect golden brown.
Step 6: Repeat and Serve Warm
Continue cooking the remaining batter, greasing the skillet as necessary to keep things non-stick. Serve your fresh pikelets warm with your favorite toppings for a mouthwatering experience.
How to Serve Pikelets Recipe

Garnishes
Pikelets are incredibly versatile, so you can dress them up with a variety of garnishes. Classic choices include a generous pat of butter melting on top, a drizzle of honey or maple syrup, or a spoonful of your favorite jam. For a fresh twist, scatter some berries or sliced bananas to add natural sweetness and color.
Side Dishes
While pikelets shine on their own, pairing them with sides like crispy bacon, smoked salmon, or even fresh yogurt can transform this simple dish into a satisfying brunch or light meal. For a sweet and savory balance, serve alongside fresh fruit salad or a dollop of whipped cream.
Creative Ways to Present
Instead of stacking them traditionally, try layering pikelets with alternating spreads like lemon curd and whipped cream for a stunning dessert. You can also cut them into smaller shapes and serve them as bite-sized snacks at gatherings, paired with a selection of dips or compotes for dipping.
Make Ahead and Storage
Storing Leftovers
Your leftover pikelets can be stored in an airtight container in the refrigerator for up to two days. To keep them from drying out, place a piece of parchment paper between the layers so they stay soft and ready to enjoy.
Freezing
If you want to keep your pikelets for a longer time, you can freeze them. Freeze in a single layer on a baking sheet first, then transfer to a freezer-safe bag or container. This prevents them from sticking together and helps you enjoy them anytime with minimal effort.
Reheating
Reheat your pikelets gently in a toaster, oven, or microwave. To keep them moist, cover with a damp paper towel while microwaving. A quick pop in a preheated oven or toaster helps maintain their crisp edges and fluffy centers.
FAQs
Can I use regular milk instead of buttermilk?
Yes, you can substitute regular milk mixed with a teaspoon of lemon juice or vinegar as a quick buttermilk replacement, which will provide a similar tang and help activate the baking soda.
How do I know when to flip the pikelets?
Look for bubbles forming on the surface and the edges setting before flipping. This indicates that the base is cooked and the pikelet will hold together without breaking.
Can I add flavors like vanilla or cinnamon?
Absolutely! Adding a splash of vanilla extract or a pinch of cinnamon can enhance the flavor profile nicely, making your pikelets even more aromatic and delicious.
Are pikelets gluten-free?
Traditional Pikelets Recipe uses all-purpose flour, which contains gluten. However, you can experiment with gluten-free flour blends to make a gluten-free version without sacrificing too much texture.
What is the difference between pikelets and pancakes?
Pikelets are smaller and thicker than traditional pancakes, often fluffier due to the buttermilk and baking soda, and sometimes slightly sweeter. They are a popular snack or breakfast treat in Australia and New Zealand, distinct in texture and size.
Final Thoughts
If you’re ready to treat yourself to a dish that’s as comforting as it is delicious, this Pikelets Recipe is a wonderful choice. Its simplicity, combined with its rich flavor and fluffy texture, makes it a perennial favorite in my kitchen. I can’t wait for you to make it your own and enjoy the warm, joyful moments that come with every bite.
Print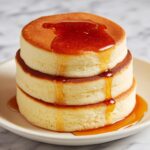
Pikelets Recipe
- Prep Time: 5 minutes
- Cook Time: 15 minutes
- Total Time: 20 minutes
- Yield: 12 servings
- Category: Breakfast
- Method: Stovetop
- Cuisine: Australian
Description
Deliciously fluffy and golden brown pikelets, perfect as a quick breakfast or an afternoon snack. These small, thick pancakes are easy to make and cook quickly on the stovetop, served best with butter, jam, honey, or fresh fruit.
Ingredients
Dry Ingredients
- 1 cup all-purpose flour
- 1 tablespoon granulated sugar
- 1 teaspoon baking powder
- 1/4 teaspoon baking soda
- 1/4 teaspoon salt
Wet Ingredients
- 1 cup buttermilk
- 1 large egg
- 2 tablespoons melted butter, plus extra for cooking
Instructions
- Mix Dry Ingredients: In a large bowl, whisk together the flour, sugar, baking powder, baking soda, and salt until well combined.
- Combine Wet Ingredients: In another bowl, whisk together the buttermilk, egg, and melted butter until smooth and fully incorporated.
- Mix Batter: Pour the wet ingredients into the dry ingredients and stir gently until just combined. The batter should remain slightly lumpy; avoid overmixing to keep the pikelets fluffy.
- Heat Skillet: Preheat a non-stick skillet or griddle over medium heat. Lightly grease the surface with a small amount of butter to prevent sticking.
- Cook Pikelets: Spoon tablespoon-sized amounts of batter onto the hot skillet. Cook for 1 to 2 minutes, until bubbles form on the surface and edges appear set.
- Flip Pikelets: Using a spatula, carefully flip the pikelets and cook for an additional 1 to 2 minutes until golden brown and cooked through.
- Repeat: Continue with the remaining batter, greasing the skillet between batches to ensure even cooking and prevent sticking.
- Serve Warm: Serve the pikelets warm with your choice of butter, jam, honey, or fresh fruit for a delightful treat.
Notes
- Do not overmix the batter to ensure fluffy pikelets.
- Use a non-stick skillet or griddle for best results.
- Adjust heat as needed to prevent burning while ensuring thorough cooking.
- For a dairy-free variation, substitute buttermilk with a plant-based milk mixed with vinegar or lemon juice.
- Pikelets are best enjoyed fresh but can be stored in an airtight container and reheated gently.
