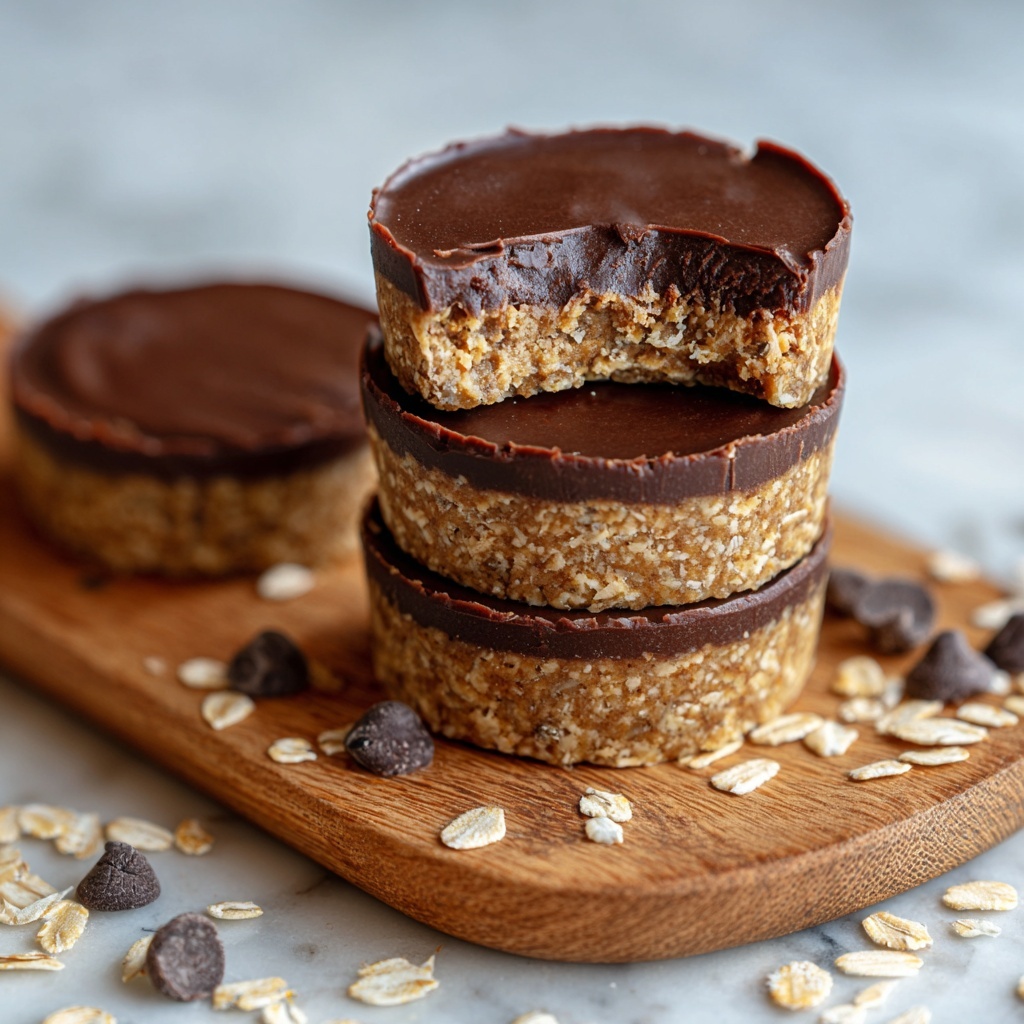
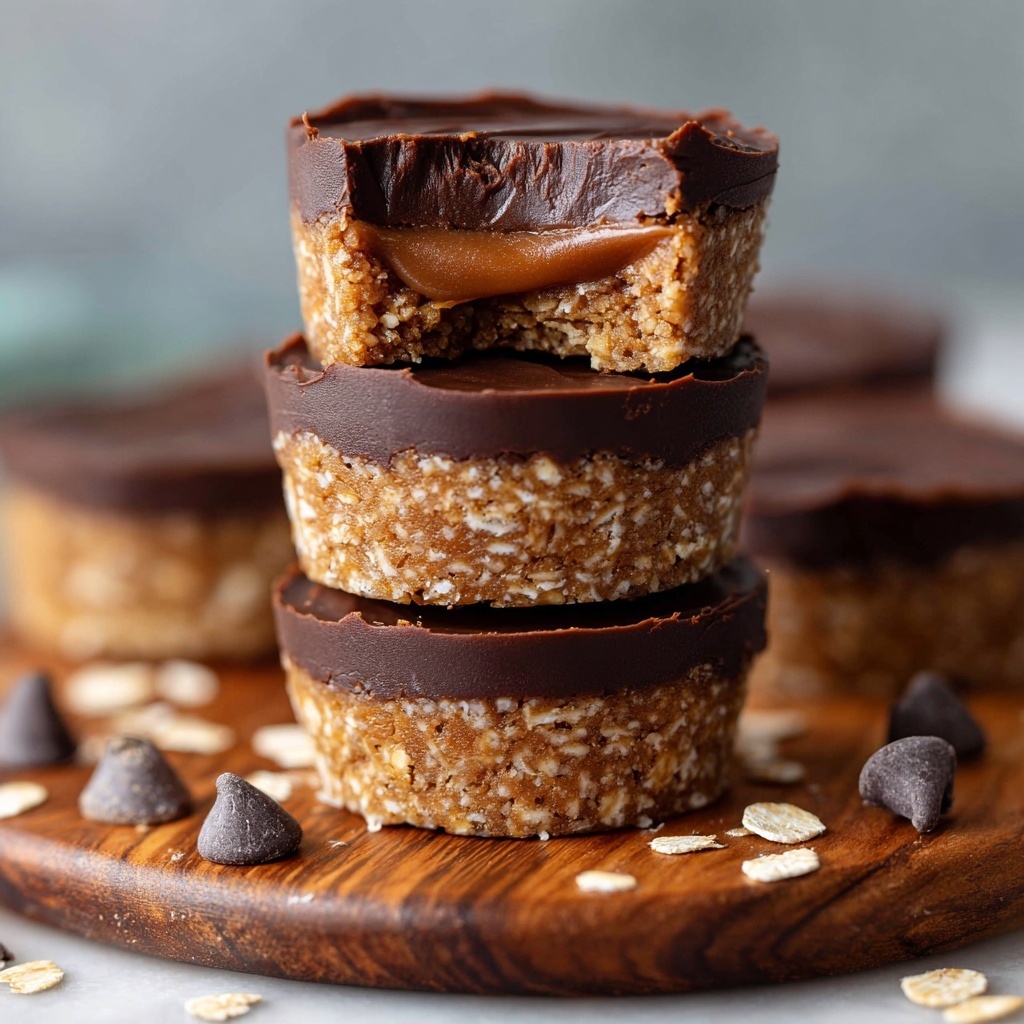
If you have been searching for a delightful, simple treat that feels like a hug in every bite, then these No Bake Peanut Butter Oat Cups: An Incredible Ultimate Recipe are exactly what you need. This recipe combines the natural creaminess of peanut butter with the wholesome goodness of oats and a subtle sweetness from honey or maple syrup, all without turning on the oven. These cups are the perfect snack to satisfy your sweet tooth while keeping things nutritious and fuss-free. Whether you’re rushing through a busy day or craving something slightly indulgent but wholesome, this recipe will quickly become your go-to treat.
Ingredients You’ll Need
The beauty of this recipe starts with its simple, approachable ingredients, all playing key roles in creating the perfect texture and flavor balance. Each one brings something unique, blending into a snack that’s crunchy, creamy, sweet, and satisfying.
- 2 cups old-fashioned rolled oats: The hearty base that provides chewiness and nutritional fiber.
- 1 cup creamy natural peanut butter: Offers rich creaminess and plant-based protein, binding the mixture perfectly.
- 1/2 cup honey or maple syrup: Natural sweeteners that add just the right amount of sweetness and moisture.
- 1/3 cup melted coconut oil: Helps hold everything together while contributing a subtle tropical note.
- 1/2 cup mini chocolate chips: Little bursts of chocolate that elevate the flavor instantly.
- 1 teaspoon pure vanilla extract: Adds depth and rounds out the sweetness beautifully.
- 1/4 teaspoon salt: Enhances all the flavors and balances the sweetness perfectly.
How to Make No Bake Peanut Butter Oat Cups: An Incredible Ultimate Recipe
Step 1: Combine Oats and Salt
Start by placing the rolled oats and salt into a large mixing bowl. Mixing these dry ingredients first helps distribute the salt evenly, which is essential to highlight the flavors that will come later.
Step 2: Warm the Peanut Butter Mixture
In a microwave-safe bowl, gently warm the peanut butter, honey (or maple syrup), and melted coconut oil for about 20 to 30 seconds. You want these to be smooth and easily mixable, so they coat the oats properly in the next step.
Step 3: Add Vanilla and Mix
Pour in the pure vanilla extract and stir everything until the mixture is wonderfully combined, fragrant, and ready to join forces with the oats.
Step 4: Combine Wet and Dry Ingredients
Pour the peanut butter mixture over the oats, stirring well until every single oat is coated. This is where the magic happens—each bite will be perfectly balanced with creamy peanut butter and wholesome oats.
Step 5: Fold in the Chocolate Chips
Gently fold in mini chocolate chips, making sure they are evenly distributed for little chocolate surprises in every bite.
Step 6: Prepare and Fill the Muffin Tin
Line a muffin tin with paper liners or lightly grease it for easy removal. Evenly divide the mixture into 12 cups, pressing down firmly with the back of a spoon to compact the mixture well. This step ensures the cups hold together beautifully when set.
Step 7: Chill Until Firm
Refrigerate the muffin tin for at least 1 hour. Patience here pays off—it allows the cups to firm up perfectly, so they hold their shape without crumbling.
Step 8: Enjoy and Store
Once firm, remove the cups from the tin and store them in an airtight container in the refrigerator. They are ready to be enjoyed whenever you need a delicious, energy-boosting snack.
How to Serve No Bake Peanut Butter Oat Cups: An Incredible Ultimate Recipe

Garnishes
While these cups are stunning on their own, a little creative garnish can take them to another level. Sprinkle some crushed peanuts on top for extra crunch or a few sea salt flakes to enhance the peanut butter flavor. A drizzle of melted dark chocolate over the top makes them look gourmet and tastes irresistible.
Side Dishes
These oat cups pair wonderfully with fresh fruit like apple slices or banana for a refreshing contrast to their rich texture. For a calming beverage accompaniment, a cup of herbal tea or a glass of cold milk is perfect and completes this snack experience.
Creative Ways to Present
Consider serving these No Bake Peanut Butter Oat Cups: An Incredible Ultimate Recipe on a rustic wooden board with colorful napkins for casual get-togethers. For lunchboxes or picnics, wrap each cup individually in parchment paper tied with a string—charming and practical!
Make Ahead and Storage
Storing Leftovers
Leftover cups keep really well in an airtight container in the refrigerator for up to one week. Their sturdy texture means they won’t accidentally crumble or get soggy, making them a great make-ahead snack for busy days.
Freezing
If you want to make these in advance or store extra batches, freezing works like a charm. Wrap each cup individually or place them in a freezer-safe container with parchment paper in between. They keep well for up to three months and thaw quickly when you need a sweet boost.
Reheating
Since these are no-bake treats, there’s no traditional reheating needed. Simply pull them from the fridge or freezer and let them come to room temperature for a few minutes if you prefer a softer bite. They’re perfect either chilled or slightly warmed.
FAQs
Can I make these oat cups vegan?
Absolutely! Swap honey for pure maple syrup to make this No Bake Peanut Butter Oat Cups: An Incredible Ultimate Recipe entirely vegan without losing any of its delicious flavor or texture.
What if I don’t have coconut oil? What can I use instead?
If you don’t have coconut oil on hand, feel free to substitute with melted butter or a neutral oil like vegetable or canola oil. Just ensure it’s in liquid form so it blends smoothly with the other ingredients.
Can I use other nut butters?
Yes! Almond butter, cashew butter, or even sunflower seed butter can be fantastic alternatives. The taste will vary slightly, but the texture and ease of this No Bake Peanut Butter Oat Cups: An Incredible Ultimate Recipe remain just as wonderful.
Are these cups suitable for meal prep?
Definitely. Their long shelf life in the fridge and quick freezing options make these a fantastic option for meal prep or snacks on the go. Just portion them out and enjoy whenever hunger strikes.
Can I add extras like seeds or dried fruits?
Yes, the recipe is very versatile! Adding chia seeds, flaxseeds, or dried fruits like cranberries or raisins can enhance nutrition and add interesting texture variations without compromising the integrity of this No Bake Peanut Butter Oat Cups: An Incredible Ultimate Recipe.
Final Thoughts
This No Bake Peanut Butter Oat Cups: An Incredible Ultimate Recipe is such a joy to make and share. It’s quick, wholesome, and endlessly satisfying—the perfect snack to keep you energized and happy throughout your day. I encourage you to try this recipe soon; your taste buds will thank you, and you’ll have a go-to treat that’s both tasty and nourishing. Enjoy!
Print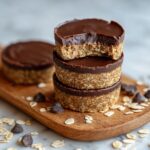
No Bake Peanut Butter Oat Cups: An Incredible Ultimate Recipe
- Prep Time: 10 minutes
- Cook Time: 0 minutes
- Total Time: 1 hour 10 minutes
- Yield: 12 cups
- Category: Snack
- Method: No-Cook
- Cuisine: American
- Diet: Vegetarian
Description
These No Bake Peanut Butter Oat Cups are a delicious and easy-to-make healthy snack packed with natural peanut butter, oats, and mini chocolate chips. Perfect for a quick energy boost or a guilt-free treat, they require no baking and set firmly in the refrigerator, making them ideal for busy lifestyles.
Ingredients
Dry Ingredients
- 2 cups old-fashioned rolled oats
- 1/4 teaspoon salt
- 1/2 cup mini chocolate chips
Wet Ingredients
- 1 cup creamy natural peanut butter
- 1/2 cup honey or maple syrup
- 1/3 cup melted coconut oil
- 1 teaspoon pure vanilla extract
Instructions
- Combine dry ingredients: In a large mixing bowl, stir together the rolled oats and salt to ensure they are well mixed and evenly seasoned.
- Warm wet ingredients: Place the peanut butter, honey, and coconut oil in a microwave-safe bowl and gently heat for 20–30 seconds until smooth and easy to stir. Add the vanilla extract and mix thoroughly.
- Mix wet and dry: Pour the warmed peanut butter mixture over the oats. Stir until all oats are evenly coated, ensuring a consistent texture throughout the mixture.
- Add chocolate chips: Gently fold in the mini chocolate chips, distributing them evenly without melting.
- Prepare molds: Line a muffin tin with paper liners or lightly grease each cup to prevent sticking.
- Fill cups and compact: Evenly divide the mixture into 12 cups. Press down firmly using the back of a spoon to pack the mixture tightly.
- Chill: Refrigerate the filled muffin tin for at least 1 hour or until the cups have set firmly.
- Store: Once firm, remove the cups from the tin and store them in an airtight container in the refrigerator to maintain freshness.
Notes
- For a vegan option, substitute honey with maple syrup.
- You can replace peanut butter with almond butter or cashew butter as preferred.
- Add chia seeds or flaxseed for added nutrition and texture.
- Store these oat cups in the refrigerator for up to one week.
- For longer storage, freeze the cups and thaw as needed.


