
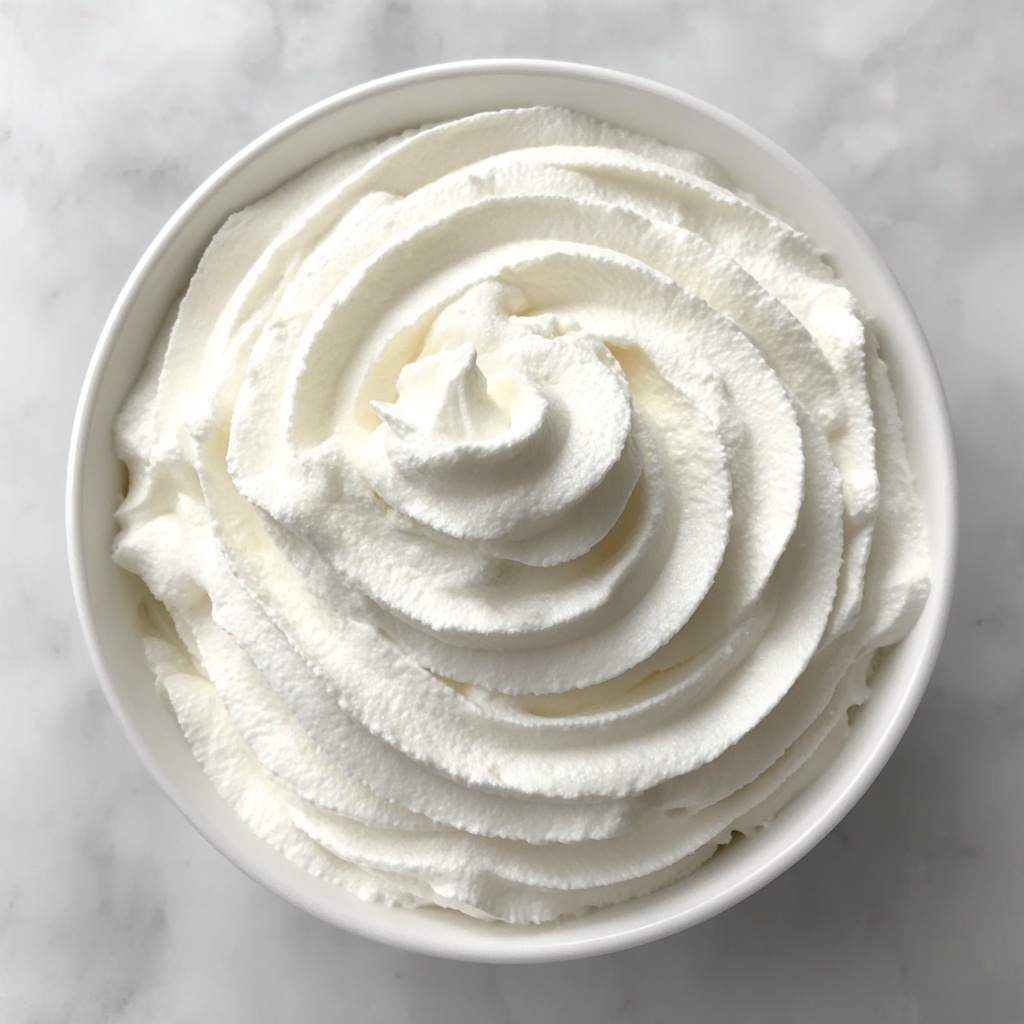
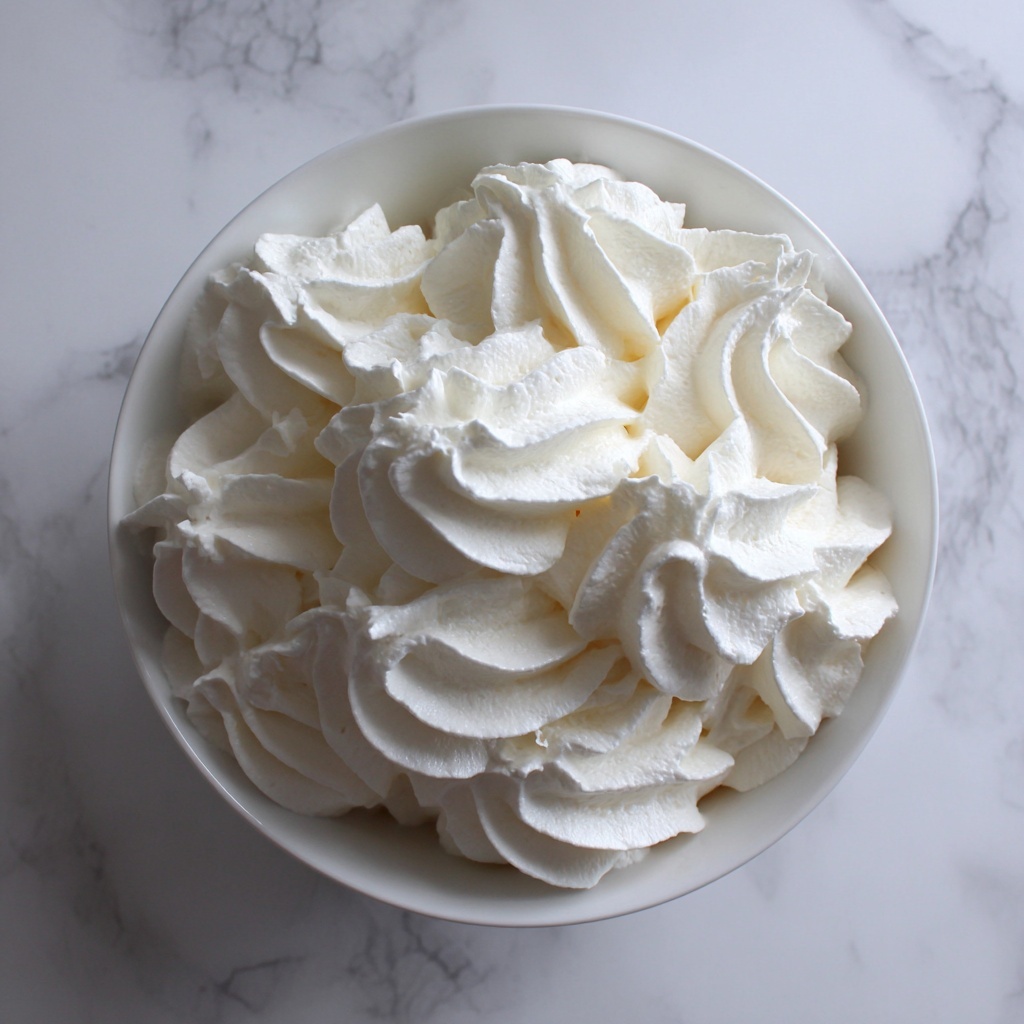
If you have ever wished for a fresh, tangy spread that elevates your bagels, sandwiches, and dips, then you are absolutely going to adore this Homemade Cream Cheese Recipe. It’s incredibly satisfying to make from scratch with just a few wholesome ingredients, and the result is creamy, rich, and full of nuanced flavor that store-bought simply cannot match. Beyond its delightful taste, knowing exactly what goes into your cream cheese brings peace of mind and endless possibilities for customization. So, get ready to transform simple milk and cream into a luscious treat that feels truly homemade and heartwarming!
Ingredients You’ll Need
The beauty of this Homemade Cream Cheese Recipe is in its simplicity. Each ingredient plays a crucial role in crafting that perfect creamy texture and fresh flavor, ensuring the final spread is smooth and rich without any additives.
- 4 cups whole milk: Provides the base creaminess and natural dairy flavor essential for the cheese.
- 2 cups heavy cream: Adds luxurious richness and a velvety texture that’s hard to beat.
- 2 tablespoons white vinegar or lemon juice: Acts as the natural acid to curdle the milk, creating those lovely curds.
- 1/2 teaspoon salt: Enhances the flavor, balancing the tartness and bringing out the cream cheese’s depth.
How to Make Homemade Cream Cheese Recipe
Step 1: Heat the Milk and Cream
Start by combining your whole milk and heavy cream in a large, heavy-bottomed saucepan. Heat over medium, stirring from time to time to prevent any scorching. The goal is to gently bring the mixture to about 185°F (85°C). This careful heating helps prepare the dairy for curdling, unlocking the cream cheese’s signature texture.
Step 2: Add Acid to Create Curds
Once your mixture reaches the right temperature, remove it from the heat, then stir in the white vinegar or lemon juice. You’ll notice almost immediately how the curds begin to separate from the whey, a clear signal that your cream cheese is coming to life. Let this mixture sit peacefully for 10 to 15 minutes without stirring so the curds can fully develop.
Step 3: Drain the Curds
Line a fine mesh strainer or colander with several layers of cheesecloth and set it over a large bowl. Gently pour your curdled milk mixture into the lined strainer. Allow it to drain naturally for at least an hour, letting the whey escape and leaving behind soft, spreadable curds. The longer you drain, the firmer your cream cheese will become, so feel free to tailor this to your preference.
Step 4: Blend Until Smooth
After draining, transfer the curds to a food processor. Blend until the texture becomes irresistibly smooth and creamy. Add the salt during blending to season evenly, tasting and adjusting if needed. This blending step is what makes the cream cheese silky with no lumps, ready to spread or incorporate into your favorite dishes.
Step 5: Chill and Store
Move your freshly blended cream cheese into an airtight container. Refrigerate for up to 7 to 10 days, which allows flavors to meld and the texture to firm up slightly. This homemade delight is best enjoyed fresh but can be kept handy in your fridge for anytime cravings.
How to Serve Homemade Cream Cheese Recipe
Garnishes
A simple sprinkle of freshly chopped herbs like chives or dill can add a vibrant touch to your cream cheese, making it a perfect spread for crackers or bagels. For a sweet twist, drizzle with honey or scatter some toasted nuts right on top to marry creamy and crunchy textures.
Side Dishes
Homemade cream cheese shines alongside fresh fruits such as apple slices, grapes, or berry medleys, turning an ordinary snack into something special. It also pairs beautifully with smoked salmon and capers for an impressive brunch platter that feels gourmet but is so easy to put together.
Creative Ways to Present
Transform your cream cheese into flavored spreads by blending in garlic, roasted red peppers, or even sun-dried tomatoes. You can chill it in small ramekins topped with a drizzle of olive oil and herbs for a charming appetizer or incorporate it into dips and baked dishes to deepen richness and add a tangy finish.
Make Ahead and Storage
Storing Leftovers
Your homemade cream cheese will keep wonderfully in a sealed container in the fridge for about a week to ten days. Always use a clean spoon to scoop it out, avoiding contamination that could shorten its shelf life. Giving it a good stir before each use helps maintain the creamy consistency.
Freezing
If you want to keep your Homemade Cream Cheese Recipe longer, freezing is an option, though the texture may become a bit crumbly after thawing. To freeze, place it in an airtight container or freezer-safe bag, leaving some room for expansion. Thaw slowly in the fridge overnight before use.
Reheating
Since cream cheese is best enjoyed cold or at room temperature, reheating is generally not recommended. If using it in cooked recipes, add it at the end of cooking to preserve its creamy character without curdling or separating.
FAQs
Can I use low-fat milk instead of whole milk?
Using low-fat milk will result in a less creamy texture and flavor. Whole milk combined with heavy cream provides the richness needed for that authentic cream cheese feel, so it’s best to stick with these for this recipe.
What if I don’t have a food processor?
You can use a blender or even beat the curds vigorously with a hand mixer until smooth, though a food processor usually yields the creamiest and smoothest texture.
Can I substitute lemon juice with vinegar?
Yes, both white vinegar and lemon juice work equally well as the acid to curdle the milk. Lemon juice can offer a slightly fruitier tang, while vinegar gives a more neutral acidity.
How long should I drain the curds?
At least one hour is needed for soft, spreadable cream cheese. For firmer results, drain up to several hours or overnight in the fridge, depending on your texture preference.
Can I add flavors directly during processing?
Absolutely! This is the perfect time to mix in herbs, garlic, honey, or other ingredients to create customized cream cheese varieties that suit your taste and occasions.
Final Thoughts
Making your own Homemade Cream Cheese Recipe is such a rewarding and delicious adventure that truly brings a new level of freshness to your kitchen. It’s simple, adaptable, and sure to impress anyone lucky enough to taste it. Give it a try and experience the joy of crafting a creamy, wholesome spread from scratch—your taste buds will thank you!
Print
Homemade Cream Cheese Recipe
- Prep Time: 10 minutes
- Cook Time: 15 minutes
- Total Time: 1 hour 30 minutes
- Yield: About 1 1/2 cups
- Category: Condiment, Spread
- Method: Stovetop
- Cuisine: American
- Diet: Vegetarian, Gluten Free
Description
This homemade cream cheese recipe offers a fresh, creamy spread made from whole milk and heavy cream, thickened naturally with vinegar or lemon juice. Perfect for spreads, dips, and cooking, this easy-to-make cream cheese delivers rich flavor with simple ingredients and no preservatives.
Ingredients
Dairy
- 4 cups whole milk
- 2 cups heavy cream
Acid
- 2 tablespoons white vinegar or lemon juice
Seasoning
- 1/2 teaspoon salt
Instructions
- Heat Milk and Cream: In a large, heavy-bottomed saucepan, combine the whole milk and heavy cream. Heat over medium heat, stirring occasionally to prevent scorching, until the mixture reaches about 185°F (85°C).
- Add Acid to Curdle: Remove the pot from heat and stir in the vinegar or lemon juice. Let the mixture sit undisturbed for 10–15 minutes as the curds form and separate from the whey.
- Drain the Curds: Line a fine mesh strainer or colander with several layers of cheesecloth and place it over a large bowl. Pour the curdled mixture into the cheesecloth and let it drain for at least 1 hour, or until most of the liquid has strained out and the curds are soft and spreadable. For a firmer texture, allow it to drain longer.
- Process the Curds: Transfer the drained curds to a food processor and blend until smooth and creamy. Add salt and continue blending to taste.
- Store the Cream Cheese: Transfer the smooth cream cheese to an airtight container and refrigerate for up to 7–10 days before use.
Notes
- Use fresh lemon juice for a tangier flavor.
- For flavored cream cheese, blend in herbs, garlic, or honey after processing.
- The longer the draining time, the thicker your cream cheese will be.
- Always store cream cheese refrigerated to maintain freshness.


