
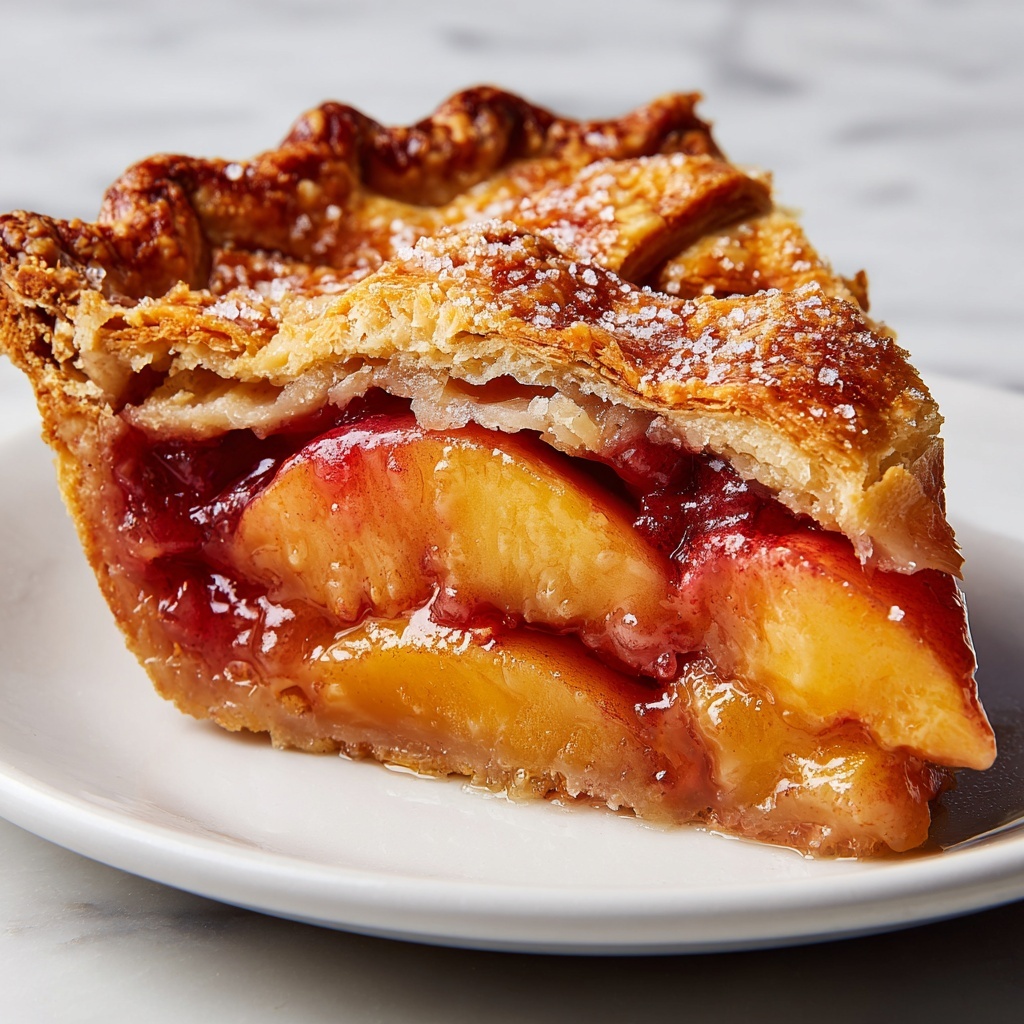
If you’ve ever tasted a pie crust that practically melts in your mouth and boasts the perfect crispiness with every bite, you know the magic that a great crust brings to any pie. This Flaky, Buttery Homemade Pie Crust Recipe is exactly that kind of game-changer. It’s not just a base; it’s the heart of the pie, delivering beautiful golden layers that flake apart with tender buttery goodness. Once you master this recipe, you’ll never want to buy pre-made crusts again, because nothing compares to the fresh, flaky layers you create by hand from simple, wholesome ingredients.
Ingredients You’ll Need
Gathering your ingredients is delightfully simple, and each one plays an essential role in crafting a tender and flaky crust. From the all-purpose flour that forms the sturdy yet tender base, to the unsalted butter that gives it that richness and flakiness you crave, these ingredients combine beautifully to make the magic happen.
- 2 ½ cups all-purpose flour: This provides the sturdy structure and base for the crust, ensuring it holds its shape without being tough.
- 1 tsp salt: Enhances the flavor and balances the sweetness, elevating the overall taste.
- 1 tbsp granulated sugar (optional): Adds a gentle sweetness, especially perfect if you’re making a fruit or sweet pie.
- 1 cup (2 sticks) unsalted butter, cold and cubed: The star ingredient that creates those beautiful flaky layers and rich buttery taste.
- 6-8 tbsp ice water: Just enough moisture to bring the dough together without melting the butter, which is crucial for flakiness.
How to Make Flaky, Buttery Homemade Pie Crust Recipe
Step 1: Mix Dry Ingredients
Start by whisking together the flour, salt, and sugar (if you’re using it) in a large bowl. This evenly distributes the salt and sugar throughout the flour, ensuring every bite has consistent flavor. It sets the stage for a balanced crust.
Step 2: Cut in the Butter
Next, add your cold, cubed butter to the flour mixture. Use a pastry cutter, two forks, or even your fingers to quickly blend the butter into the flour until the mixture resembles coarse crumbs with pea-sized chunks of butter. These chunks are essential—they melt during baking to create the signature flaky texture.
Step 3: Add Ice Water Gradually
Spoon in ice-cold water one tablespoon at a time, gently mixing with a fork after each addition. The goal is to moisten the dough just enough so it clings together when squeezed. Too much water results in a tough crust, so proceed cautiously!
Step 4: Form and Chill the Dough
Turn the dough out onto a lightly floured surface and press it gently into two discs. Wrap each disc tightly in plastic wrap and refrigerate for at least 30 minutes to let the butter chill again. This resting time is critical for that tender, flaky bite you’re chasing.
Step 5: Roll and Shape Your Crust
Once chilled, lightly flour your surface and rolling pin, then roll out the dough evenly to fit your pie dish. Don’t overwork the dough—gentle, even strokes will give you a smooth, uniform crust. Carefully transfer it to your pie dish and trim any excess dough hanging over the edges.
Step 6: Bake as Directed
Depending on your pie filling, you may blind bake this crust or fill and bake it together. For blind baking, prick the bottom with a fork, line it with parchment, fill with pie weights, and bake until golden. This extra step guarantees a crispy, non-soggy base ready for any delicious filling.
How to Serve Flaky, Buttery Homemade Pie Crust Recipe
Garnishes
While the crust itself is a star, a sprinkle of coarse sugar before baking can add a delightful sparkle and crunch. For savory pies, a brush of egg wash ups the golden glow and adds a subtle sheen that’s irresistible. These small touches enhance your crust’s visual and textural appeal.
Side Dishes
This pie crust is the perfect canvas for all kinds of fillings, and pairs wonderfully with fresh whipped cream, vanilla ice cream, or a dollop of tangy crème fraîche. Salad greens dressed lightly with a vinaigrette also complement savory pies, creating a balanced, crowd-pleasing meal.
Creative Ways to Present
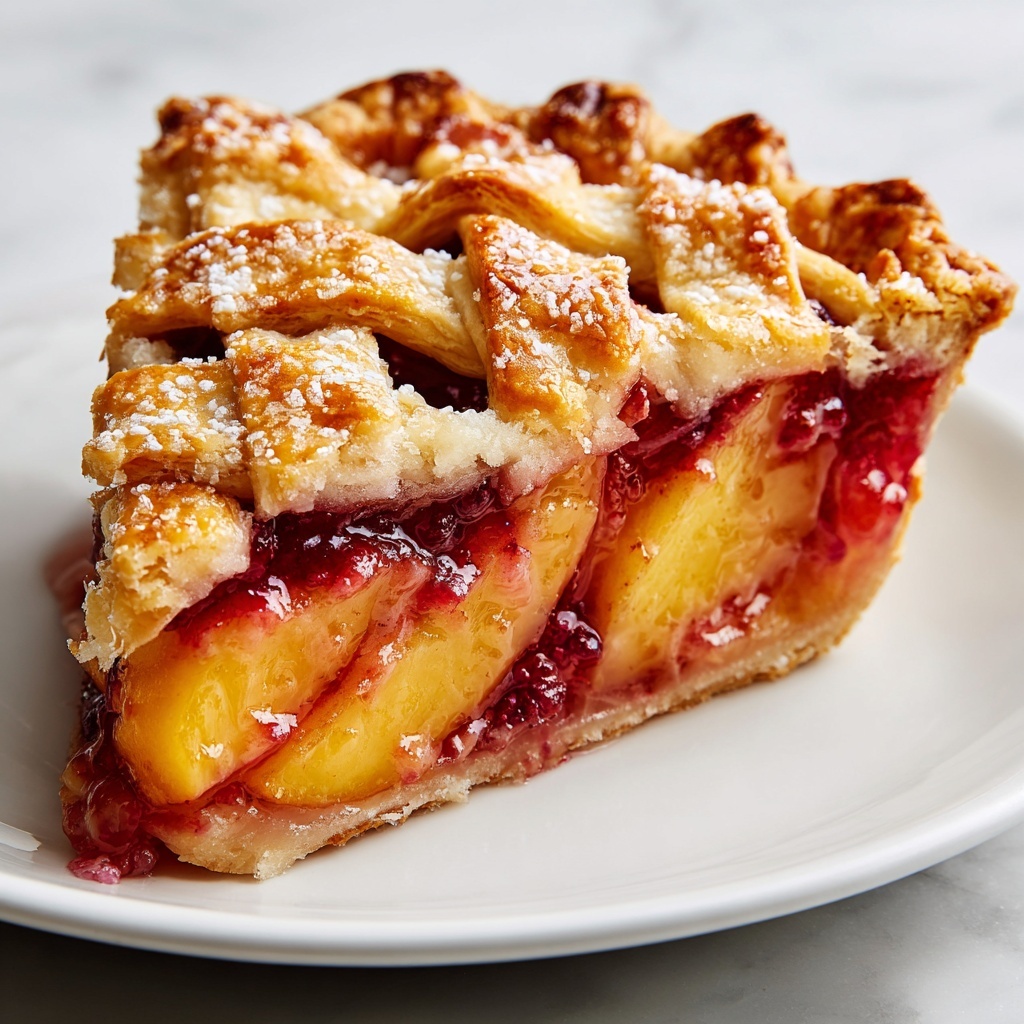
Want to wow your guests? Use cookie cutters to shape decorative crust cutouts for the top of your pie or create a latticed pattern for an enticing look. You can also sprinkle toasted nuts or a light dusting of cinnamon sugar on sweet crusts for a charming finish. Presentation is your chance to make this classic crust uniquely yours.
Make Ahead and Storage
Storing Leftovers
If you have leftover pie crust dough, wrap it tightly in plastic and keep it in the refrigerator for up to two days. This way, you can quickly pull it out for another delicious pie or mini tarts without compromising on the quality or flakiness.
Freezing
For longer storage, the dough freezes beautifully. Wrap the discs in plastic wrap and then aluminum foil to prevent freezer burn. When ready, thaw overnight in the refrigerator before rolling out. This makes having homemade crust on hand a breeze whenever inspiration strikes.
Reheating
If you’ve baked a pie using this crust and want to reheat it, warm it gently in a low oven (about 300°F or 150°C) to restore crispiness. Avoid the microwave, which can make the crust soggy and less appetizing.
FAQs
Can I use salted butter instead of unsalted?
While you can, unsalted butter gives you better control over the salt content in your pie crust, ensuring the flavor balances perfectly. If you use salted butter, consider reducing the added salt slightly.
Why is cold butter important in this recipe?
Cold butter helps create those flaky layers that are the hallmark of this crust. When baked, the butter melts and creates steam pockets, which separate the dough into light, delicate layers.
Can I make this crust gluten-free?
Yes, but you’ll need to substitute the all-purpose flour with a gluten-free flour blend suitable for baking and adjust the moisture levels accordingly. The texture may differ slightly, but with care, you can still achieve a tasty crust.
How do I prevent the crust from shrinking while baking?
Make sure to chill your dough thoroughly before baking and avoid stretching it when fitting it into the pie dish. Using pie weights during blind baking also helps maintain its shape.
Is this recipe suitable for both sweet and savory pies?
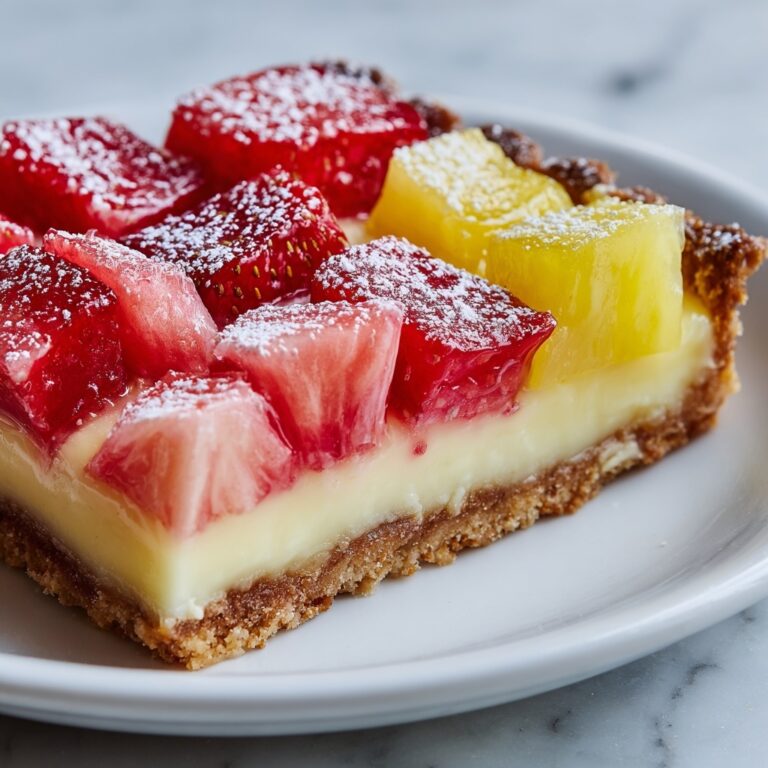
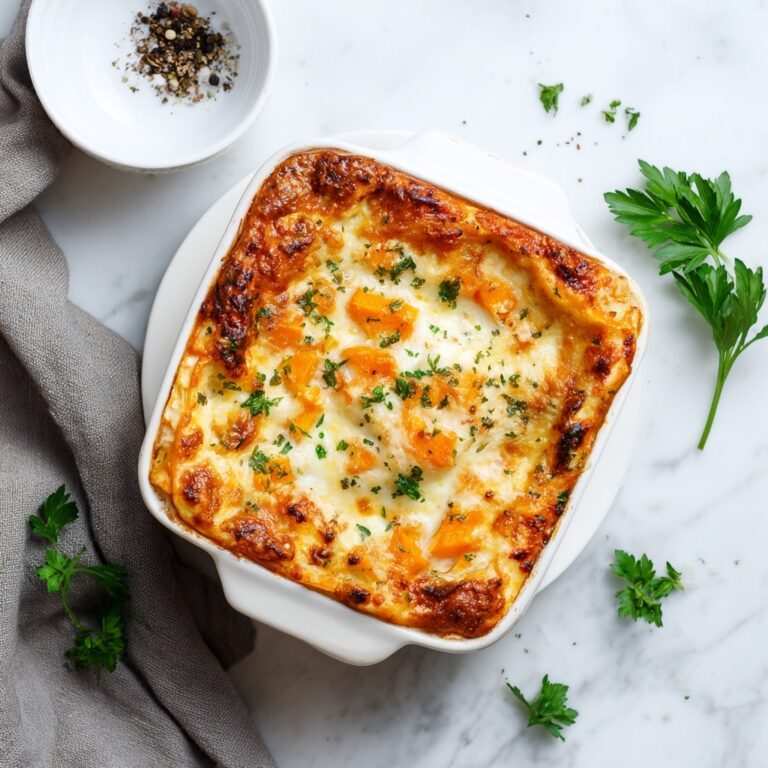
Absolutely! By adjusting the sugar, you can easily tailor this Flaky, Buttery Homemade Pie Crust Recipe for both your favorite sweet fruit pies and hearty savory pies like quiches or pot pies.
Final Thoughts
There’s something truly special about creating a pie crust from scratch, and this Flaky, Buttery Homemade Pie Crust Recipe offers a perfect combination of simplicity and deliciousness that will raise your pie game to new heights. Once you try it, you’ll see just how rewarding baking your own crust can be, turning every pie into a memorable occasion shared with loved ones. Give it a go and watch your homemaking skills shine!
Print
Flaky, Buttery Homemade Pie Crust Recipe
- Prep Time: 15 minutes
- Cook Time: 1 hour (includes chilling time)
- Total Time: 1 hour 15 minutes
- Yield: 9 servings (enough for one 9-inch double crust pie)
- Category: Baking
- Method: Baking
- Cuisine: American
Description
This flaky, buttery homemade pie crust recipe delivers a tender and crisp base perfect for sweet or savory pies. Made with simple ingredients and easy-to-follow steps, this crust offers a classic texture and rich flavor from cold, cubed butter and just the right amount of ice water. Whether you’re baking fruit pies, quiches, or tarts, this homemade crust will elevate your baking with its delicious, golden finish.
Ingredients
Dry Ingredients
- 2 ½ cups all-purpose flour
- 1 tsp salt
- 1 tbsp granulated sugar (optional, for sweet pies)
Wet Ingredients
- 1 cup (2 sticks) unsalted butter, cold and cubed
- 6–8 tbsp ice water
Instructions
- Combine Dry Ingredients: In a large bowl, whisk together the all-purpose flour, salt, and granulated sugar if making a sweet pie crust. This ensures an even distribution of seasoning throughout the dough.
- Cut in the Butter: Add the cold, cubed unsalted butter to the flour mixture. Using a pastry cutter, two forks, or your fingertips, quickly cut and rub the butter into the flour until the mixture resembles coarse crumbs with some pea-sized pieces of butter remaining. This step is crucial for creating a flaky texture.
- Add Ice Water: Gradually drizzle 6 to 8 tablespoons of ice water over the flour and butter mixture, tossing gently with a fork or your hands after each addition. Add just enough water for the dough to come together when pressed, avoiding overworking it to maintain flakiness.
- Form the Dough: Gather the dough into a ball, then divide it in two equal portions. Flatten each into a disk shape, wrap tightly with plastic wrap, and refrigerate for at least 1 hour. Chilling relaxes the gluten and firms the butter, which helps achieve a tender, flaky crust.
- Roll Out the Dough: On a lightly floured surface, roll out one chilled disk of dough into your desired size and thickness, typically about 12 inches in diameter and ⅛ inch thick, for a 9-inch pie plate. Carefully transfer the rolled dough to the pie plate, gently fitting it in without stretching.
- Prepare for Baking: Trim excess dough from edges, leaving a slight overhang if desired for crimping or decorative edges. Fill with your pie filling as required or blind bake according to your pie recipe instructions.
- Repeat with Second Disk: Use the second disk to create a top crust if your pie requires it, or store it wrapped in plastic wrap in the refrigerator for up to 3 days or freezer for up to 1 month.
Notes
- Keep all ingredients as cold as possible for the flakiest crust.
- Avoid overmixing the dough to prevent a tough crust.
- For a sweeter crust, do not omit the sugar.
- If the dough is too dry, add ice water one tablespoon at a time.
- Chill the dough at least 1 hour before rolling out for best results.
- You can freeze wrapped dough disks for up to 1 month.


