
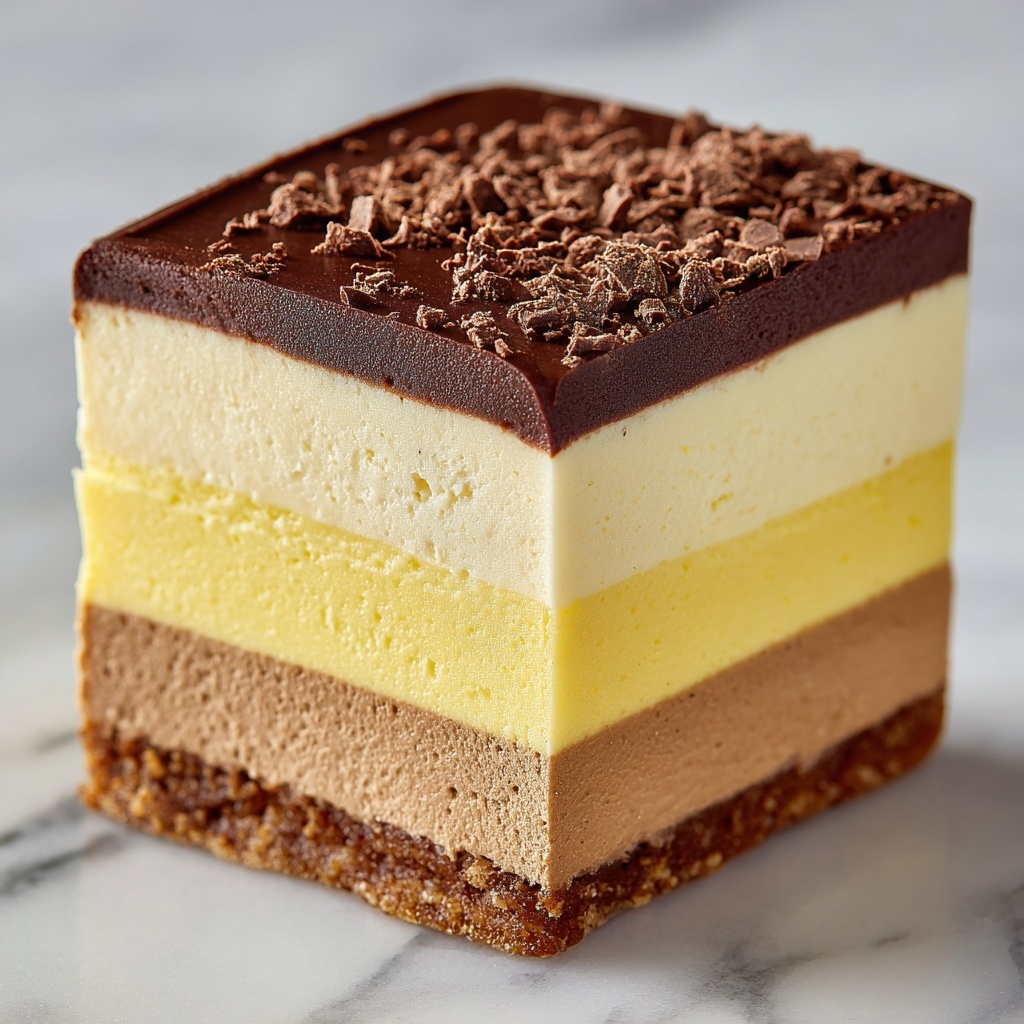
If you’ve ever wanted to master a dessert that’s both nostalgic and utterly irresistible, then this Classic Boston Cream Pie Recipe is exactly what you need. Despite its name, this delightful treat isn’t actually a pie but a heavenly combination of tender vanilla sponge cake layered with smooth pastry cream and finished with a glossy chocolate glaze. Each bite brings together the perfect harmony of fluffy cake, creamy filling, and rich chocolate that feels like a warm hug on a plate. Whether you’re celebrating a special occasion or simply craving a timeless indulgence, this recipe will quickly become a treasured favorite in your kitchen.
Ingredients You’ll Need
The beauty of this Classic Boston Cream Pie Recipe lies in its simplicity. Using basic pantry staples ensures the cake has a wonderfully light texture, the pastry cream adds that luscious custard touch, and the chocolate glaze seals everything together with a shiny, decadent finish.
- 1 cup all-purpose flour: The base for the cake’s tender crumb, making every bite soft and pillowy.
- 1 1/2 teaspoons baking powder: Helps the cake rise perfectly, giving it that light and airy texture.
- 1/2 teaspoon salt: Enhances the flavors and balances the sweetness.
- 1/2 cup unsalted butter, softened: Adds richness and moisture, creating a melt-in-your-mouth experience.
- 1 cup granulated sugar: Sweetens the cake just right without overpowering the other flavors.
- 2 large eggs: Bind the ingredients and contribute to the cake’s structure and fluffiness.
- Pastry cream or custard (for filling): The creamy heart of the dessert, providing a smooth contrast to the cake.
- Chocolate glaze: A luscious coating that offers the perfect bittersweet finish to the pie.
How to Make Classic Boston Cream Pie Recipe
Step 1: Prepare Your Baking Pans and Oven
Begin by preheating your oven to 350°F (175°C) to ensure it’s at just the right temperature for baking the cake layers evenly. Grease and flour two 9-inch round cake pans so your cakes come out effortlessly without sticking.
Step 2: Combine Dry Ingredients
In a medium bowl, whisk together the all-purpose flour, baking powder, and salt. This step guarantees that the leavening agent and seasoning are evenly distributed, which is crucial for a uniform rise and balanced flavor in your cake.
Step 3: Cream Butter and Sugar
Next, in a larger bowl, beat the softened butter and granulated sugar until the mixture becomes light and fluffy. This is a key step to incorporate air into your batter, laying the foundation for a beautifully tender cake.
Step 4: Add Eggs One at a Time
Beat in the eggs gradually, one at a time, making sure each is fully mixed in before adding the next. This careful process helps maintain the cake’s lightness and ensures a smooth batter with no separation.
Step 5: Mix in Dry Ingredients
Slowly incorporate the dry flour mixture into the wet butter, sugar, and eggs mixture. Mix just until combined to avoid overworking the batter, which can make the cake tough instead of soft.
Step 6: Bake the Cake Layers
Divide the batter evenly between your two prepared pans, smoothing the top with a spatula. Bake for 20-25 minutes, or until a toothpick inserted into the center comes out clean. This is your cue that the cakes are perfectly baked through.
Step 7: Cool Cakes Thoroughly
Let the cakes cool for about 10 minutes in the pans before transferring them to a wire rack to cool completely. Cooling is crucial because it prevents the pastry cream from melting when spread between the layers.
Step 8: Assemble with Pastry Cream and Chocolate Glaze
Once fully cooled, spread a generous layer of smooth pastry cream over one cake layer. Gently place the second cake on top, then drape the entire cake with a shiny, rich chocolate glaze. Chill slightly before slicing to let the layers set beautifully.
How to Serve Classic Boston Cream Pie Recipe
Garnishes
To add a charming flair, sprinkle some fresh berries or a light dusting of powdered sugar around your slices. A few delicate mint leaves also brighten the presentation and add a fresh aroma that complements the rich chocolate and creamy filling.
Side Dishes
This dessert shines on its own but pairs wonderfully with a scoop of vanilla bean ice cream or a dollop of freshly whipped cream. For coffee lovers, a cup of strong espresso or a creamy latte makes the perfect companion to balance the sweetness.
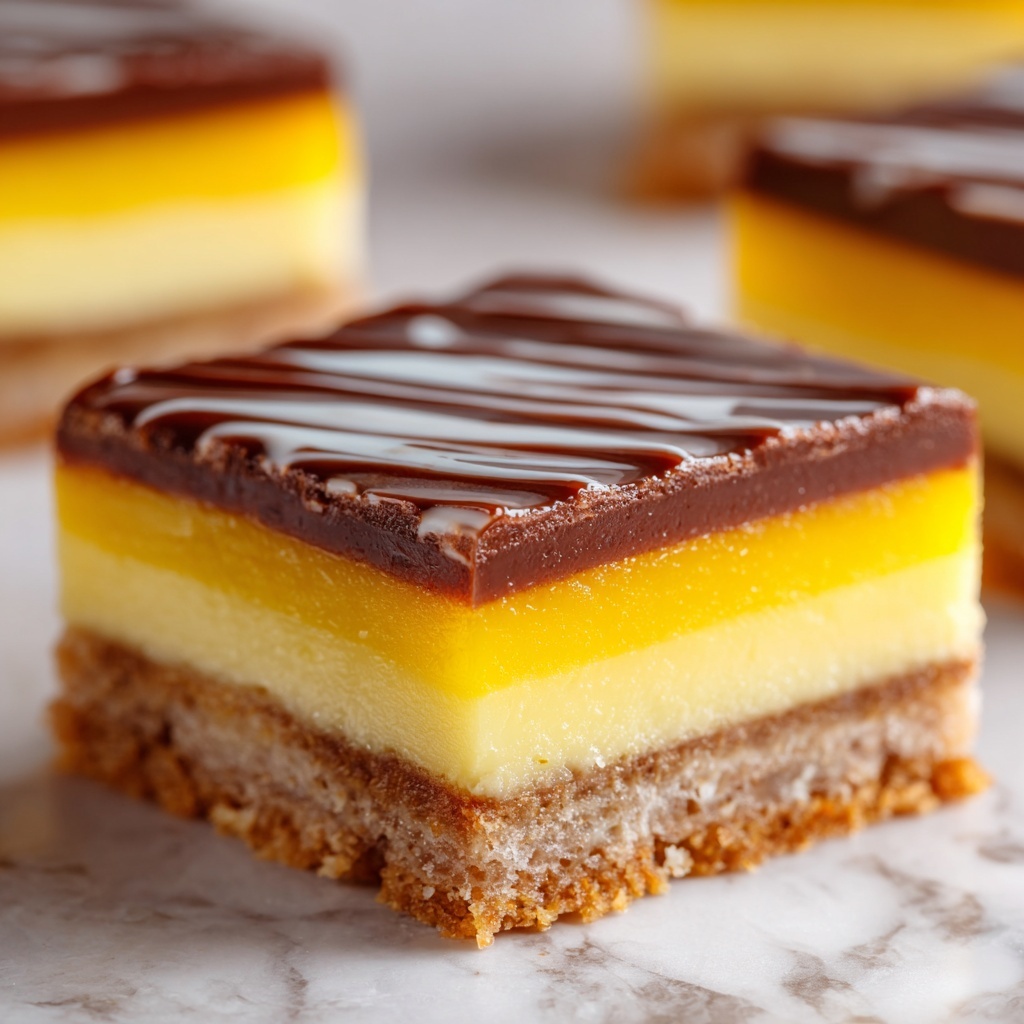
Creative Ways to Present
Try serving individual mini Boston Cream pies using cupcake molds with layers of cake, pastry cream, and glaze for an adorable and shareable treat. Or, plate a triangular slice with a drizzle of caramel or raspberry sauce for a sophisticated twist that’ll impress your guests.
Make Ahead and Storage
Storing Leftovers
Keep any leftover Classic Boston Cream Pie covered in the refrigerator to maintain freshness. Store it in an airtight container or tightly wrap it with plastic wrap to prevent the cake from drying out and the chocolate glaze from becoming dull.
Freezing
While you can freeze the cake layers individually before assembling, the fully assembled pie with glaze doesn’t freeze well because the texture of the pastry cream and chocolate may change. It’s best to freeze the cake layers and prepare the filling and glaze fresh when ready to serve.
Reheating
This dessert is best enjoyed chilled, so skip reheating. If you prefer a slightly less chilled serving, let the pie sit at room temperature for about 30 minutes before slicing to soften the filling and enhance its flavors.
FAQs
Can I use a different type of flour for the cake?
All-purpose flour works best for this Classic Boston Cream Pie Recipe because it provides the right balance of structure and tenderness. Using cake flour will make the cake lighter but may change the texture slightly, and whole wheat flour will make it denser.
What can I substitute for pastry cream?
If you don’t have pastry cream on hand, a good-quality vanilla pudding or a thick custard can work as a substitute. Just make sure it’s chilled and firm enough to hold its shape between the layers.
How thick should the chocolate glaze be?
The chocolate glaze should be pourable but not too thin; it should coat the back of a spoon and flow smoothly over the cake. This consistency creates a beautiful glossy finish that complements the creamy filling perfectly.
Can I make this Classic Boston Cream Pie Recipe gluten-free?
Absolutely! Substitute the all-purpose flour with a gluten-free flour blend designed for baking. Be sure it contains xanthan gum or another binder to help give structure to the cake layers.
How long does the Classic Boston Cream Pie keep fresh?
When stored properly in the refrigerator, this pie will stay fresh for 2 to 3 days. Beyond that, the cake may start to dry out, and the cream filling might lose its ideal texture.
Final Thoughts
This Classic Boston Cream Pie Recipe is a true delight that brings together simple ingredients in a way that feels special and comforting. Once you try it, you’ll see why it’s a beloved dessert for generations. So bake a batch, gather your loved ones, and share a slice of delicious nostalgia that’s sure to become a treasured part of your baking repertoire.
Print
Classic Boston Cream Pie Recipe
- Prep Time: 15 minutes
- Cook Time: 25 minutes
- Total Time: 45 minutes
- Yield: 8 servings
- Category: Dessert
- Method: Baking
- Cuisine: American
Description
Classic Boston Cream Pie is a beloved dessert featuring two layers of tender, buttery cake filled with smooth pastry cream and topped with a decadent chocolate glaze. Perfect for any occasion, this recipe yields a moist and flavorful treat that combines the rich creaminess of custard with a luscious chocolate finish.
Ingredients
Cake:
- 1 cup all-purpose flour
- 1 1/2 teaspoons baking powder
- 1/2 teaspoon salt
- 1/2 cup unsalted butter, softened
- 1 cup granulated sugar
- 2 large eggs
Filling:
- Pastry cream or custard (about 1 to 1 1/2 cups)
Topping:
- Chocolate glaze (rich chocolate glaze)
Instructions
- Preheat and prepare pans: Preheat your oven to 350°F (175°C). Grease and flour two 9-inch round cake pans to prevent sticking and ensure even baking.
- Mix dry ingredients: In a medium bowl, whisk together the all-purpose flour, baking powder, and salt. This ensures they are evenly combined and will help your cake rise uniformly.
- Cream butter and sugar: In a separate large bowl, beat together the softened unsalted butter and granulated sugar until the mixture is light and fluffy, which creates the base for a tender cake.
- Add eggs: Incorporate the eggs one at a time into the butter and sugar mixture, beating well after each addition to maintain a smooth batter.
- Combine dry and wet ingredients: Gradually add the dry ingredients to the wet ingredients, mixing just until combined to avoid overworking the batter, which can make the cake dense.
- Divide batter and bake: Pour the batter evenly into the prepared cake pans and smooth the tops for even rising. Bake for 20-25 minutes or until a toothpick inserted in the center comes out clean.
- Cool the cakes: Allow the cakes to cool in the pans for 10 minutes, then transfer them to a wire rack to cool completely, which is essential before layering with pastry cream.
- Assemble with filling: Once the cakes are completely cooled, spread a generous layer of pastry cream or custard between the two cake layers to add rich, creamy flavor.
- Add chocolate glaze: Top the assembled cake with a rich chocolate glaze, spreading it evenly over the surface for a glossy, decadent finish.
- Chill and serve: Refrigerate the cake until chilled to set the glaze and filling. Serve cold for the best flavor and texture experience.
Notes
- For best results, use room temperature butter and eggs to ensure proper blending.
- You can prepare the pastry cream or custard ahead of time and chill it before assembling the cake.
- If you prefer, use a homemade or store-bought chocolate glaze for convenience.
- Ensure cakes are completely cool before filling and glazing to prevent melting and sliding.
- This cake is best refrigerated and consumed within 3 days for freshness.


