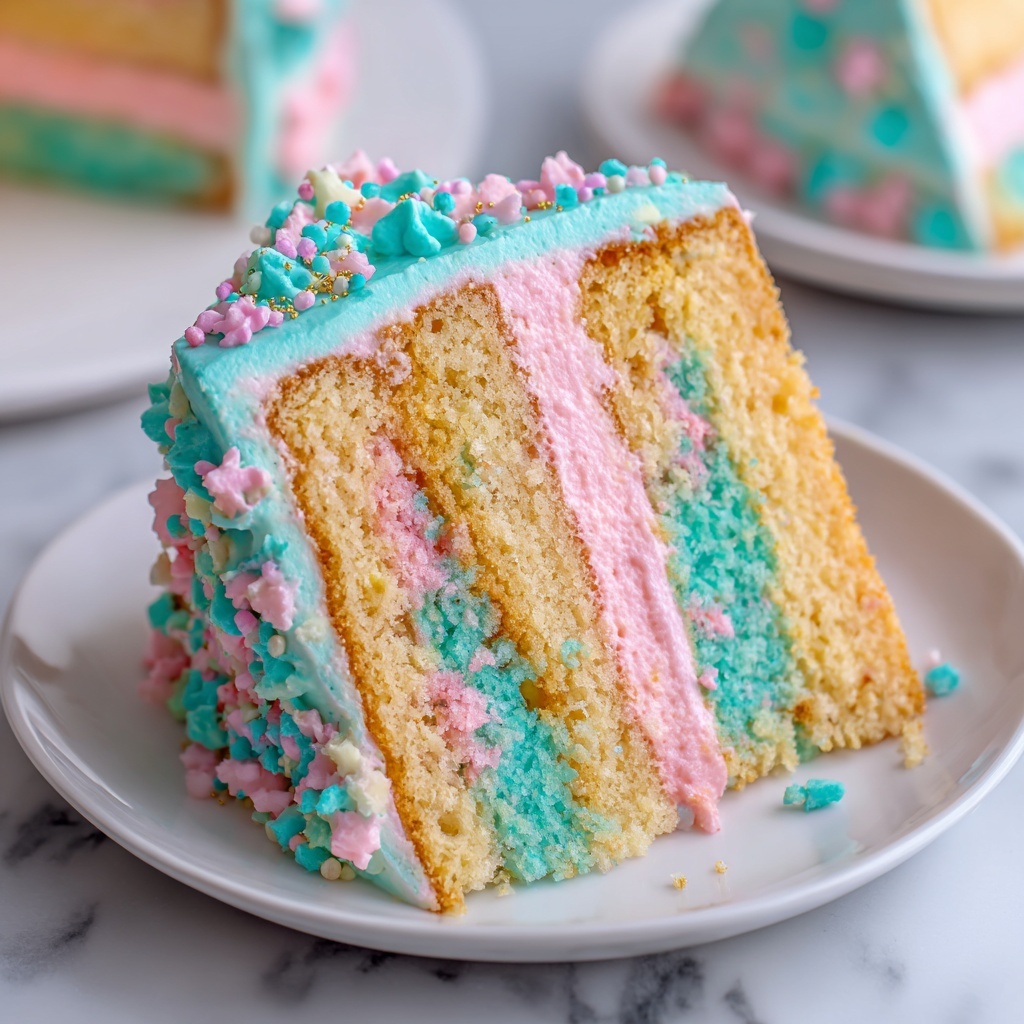
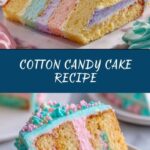
If you have a sweet tooth and a love for whimsical desserts, this Cotton Candy Cake Recipe is your new best friend in the kitchen. Imagine biting into a light, fluffy cake that dances on your tongue with soft pink and blue swirls, packing in the nostalgic flavor of cotton candy without the sticky mess. It’s a feast for your eyes and your taste buds, bringing a playful twist to any celebration or just a fun treat to brighten your day. Let me walk you through every step of making this dreamy delight that’s as delightful to bake as it is to eat.
Ingredients You’ll Need
This Cotton Candy Cake Recipe shines because of its simple, everyday ingredients that come together to create a show-stopping dessert. Each component plays a vital role—from the tender crumb of the cake to the vibrant colors and the signature cotton candy flavor that makes this cake unforgettable.
- 2 1/2 cups all-purpose flour: Provides the structure and soft base for the cake layers.
- 2 1/2 teaspoons baking powder: Ensures a perfect rise, keeping the cake light and airy.
- 1/2 teaspoon salt: Balances flavors and enhances the sweetness.
- 1 cup unsalted butter (softened): Adds richness and moisture, making each bite velvety smooth.
- 1 3/4 cups granulated sugar: Sweetens the cake to perfection without overpowering.
- 4 large egg whites: Provide lift and lightness while keeping the cake tender.
- 1 tablespoon cotton candy flavoring: The star ingredient that infuses the cake with that iconic carnival taste.
- 1 teaspoon vanilla extract: Enhances the overall flavor and adds warmth.
- 1 cup whole milk: Keeps the batter moist and tender.
- Pink and blue gel food coloring: Creates those dreamy pastel swirls that make the cake magical.
- Cotton candy for garnish: The whimsical finishing touch that brings the cake to life.
How to Make Cotton Candy Cake Recipe
Step 1: Prepare Your Pans and Dry Ingredients
Start by preheating your oven to 350°F (175°C). Grease and flour three 8-inch round cake pans to prevent sticking, then line the bottoms with parchment paper for an easy release. In a medium bowl, whisk together the flour, baking powder, and salt to evenly distribute the leavening and seasoning—this ensures every bite has the perfect texture and taste.
Step 2: Cream Butter and Sugar
In a large mixing bowl, beat the softened butter and granulated sugar until the mixture is light and fluffy. This step is crucial to infuse air into the batter, which translates into a tender crumb after baking.
Step 3: Add Egg Whites and Flavorings
Gradually add the egg whites one at a time, beating well after each to maintain the airy texture. Next, stir in the cotton candy flavoring along with the vanilla extract—these add the signature sweetness and depth that make this cake stand out from the crowd.
Step 4: Combine Wet and Dry Ingredients
Alternate adding the flour mixture and milk to the batter, beginning and ending with the dry ingredients. This technique helps maintain the batter’s smooth consistency while ensuring the cake layers remain moist and balanced.
Step 5: Create the Marbled Colors
Divide the batter evenly into two bowls. Carefully tint one bowl with pink gel food coloring and the other with blue, aiming for soft pastel hues. Then, spoon alternating dollops of each color into the prepared pans. Use a knife to gently swirl the colors together, creating a stunning marbled effect that feels like a carnival on your plate.
Step 6: Bake and Cool
Bake the cake layers for 25 to 30 minutes, or until a toothpick inserted in the center comes out clean—the aroma that fills your kitchen during this time is pure magic. Allow the cakes to cool in the pans for 10 minutes before transferring them to a wire rack to cool completely. Cooling ensures your frosting won’t melt when applied.
Step 7: Frost and Garnish
Frost your cooled cake layers with a luscious vanilla or cotton candy-flavored buttercream. The softness of the frosting complements the lightness of the cake perfectly. Just before serving, add tufts of real cotton candy on top for that wow factor and a bit of nostalgic fun.
How to Serve Cotton Candy Cake Recipe

Garnishes
Adding cotton candy as a garnish is the crowning glory for this cake. It not only looks spectacular but enhances the flavor experience. For a touch of sparkle, sprinkle edible glitter or pastel-colored sprinkles to keep the presentation as delightful as the taste.
Side Dishes
This cake pairs wonderfully with simple sides like fresh berries or a light fruit salad, which provide a fresh contrast to the sugary sweetness. A scoop of vanilla ice cream or a dollop of whipped cream can elevate the serving experience to pure indulgence.
Creative Ways to Present
Think beyond a classic cake stand. Present your Cotton Candy Cake Recipe on a pastel-colored platter or surrounded by small cotton candy clouds for a truly enchanting dessert table. You could even serve individual slices topped with mini cotton candy puffs for a playful party treat.
Make Ahead and Storage
Storing Leftovers
To keep your Cotton Candy Cake Recipe fresh, store leftover slices covered at room temperature for up to two days. If your kitchen is warm, refrigerate the cake in an airtight container to maintain moisture and prevent the cotton candy garnish from melting.
Freezing
This cake freezes beautifully. Wrap the unfrosted layers tightly in plastic wrap and then foil. When ready to enjoy, thaw overnight in the fridge, then frost and garnish as desired. This is perfect for planning ahead for any special occasion.
Reheating
For the best taste, allow refrigerated slices to come to room temperature before eating. Avoid microwaving as it can alter the texture of the cake. If you want a slightly warm slice, a brief 10-second zap in the microwave at low power can soften the buttercream without melting it completely.
FAQs
Can I use regular food coloring instead of gel?
Gel food coloring is recommended because it provides vibrant colors without thinning your batter. Regular liquid food coloring may alter the texture, so use sparingly if you don’t have gel.
Is the cotton candy flavoring natural?
Most cotton candy flavorings are artificial to capture that unique carnival taste. Look for high-quality extracts to ensure the best flavor for your cake.
Can I make this cake gluten-free?
You can substitute the all-purpose flour with a gluten-free baking mix, but results may vary slightly. Make sure your baking powder is gluten-free as well.
How long can I keep the cotton candy garnish on the cake?
Cotton candy dissolves quickly when exposed to moisture, so add it just before serving to maintain its fluffy texture and delicate appearance.
Can I make this cake in advance for a party?
Absolutely! Bake and freeze the layers ahead of time, then frost and decorate on the day of your event for a fresh and stunning dessert.
Final Thoughts
The Cotton Candy Cake Recipe is a delightful way to bring a bit of magic and fun into your kitchen and your celebrations. It’s playful yet sophisticated, bursting with nostalgic flavor and vibrant colors that make any occasion extra special. Give it a try—you might just find it becoming your new favorite go-to dessert for joy-filled moments.
Print
Cotton Candy Cake Recipe
- Prep Time: 30 minutes
- Cook Time: 30 minutes
- Total Time: 1 hour (plus cooling time)
- Yield: 12 servings
- Category: Dessert
- Method: Baking
- Cuisine: American
- Diet: Vegetarian
Description
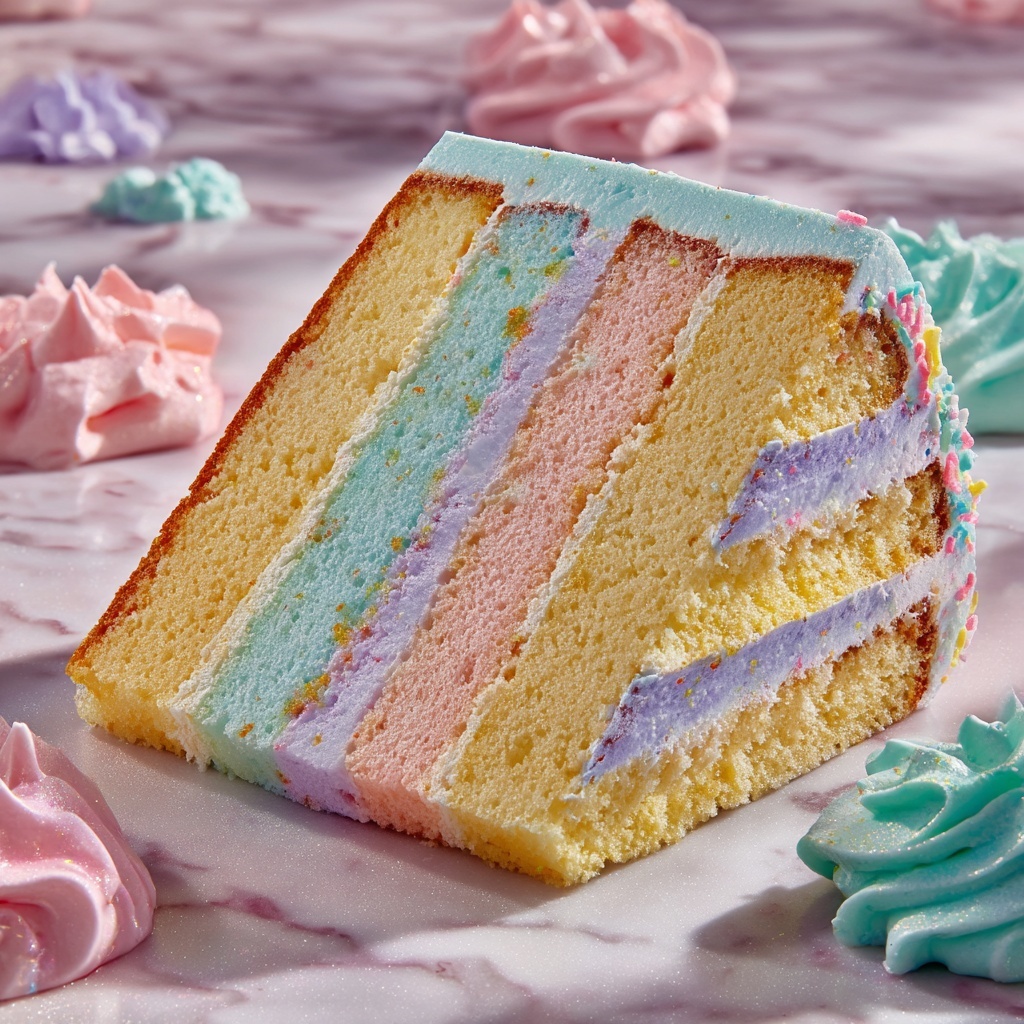
This whimsical Cotton Candy Cake features tender layers of fluffy cake infused with cotton candy flavoring and visually stunning pink and blue marbled swirls. Perfect for birthdays or special celebrations, it’s adorned with a vanilla or cotton candy-flavored buttercream and garnished with delicate tufts of cotton candy, delivering a fun and nostalgic treat that’s as delightful to eat as it is to behold.
Ingredients
Dry Ingredients
- 2 1/2 cups all-purpose flour
- 2 1/2 teaspoons baking powder
- 1/2 teaspoon salt
Wet Ingredients
- 1 cup unsalted butter, softened
- 1 3/4 cups granulated sugar
- 4 large egg whites
- 1 tablespoon cotton candy flavoring
- 1 teaspoon vanilla extract
- 1 cup whole milk
Coloring and Garnish
- Pink gel food coloring
- Blue gel food coloring
- Cotton candy for garnish
Instructions
- Prepare pans and preheat oven: Preheat your oven to 350°F (175°C). Grease and flour three 8-inch round cake pans thoroughly and line the bottoms with parchment paper to ensure the cakes release easily after baking.
- Combine dry ingredients: In a medium bowl, whisk together the all-purpose flour, baking powder, and salt to evenly distribute the leavening agent and salt throughout the flour.
- Cream butter and sugar: In a large mixing bowl, beat the softened unsalted butter and granulated sugar together until the mixture is light, fluffy, and pale in color, which helps to create a tender cake crumb.
- Add egg whites: Add the egg whites one at a time to the butter and sugar mixture, beating well after each addition to fully incorporate air and maintain the fluffy texture.
- Mix in flavorings: Stir in the cotton candy flavoring and vanilla extract, ensuring even distribution to bring the fun cotton candy essence throughout the batter.
- Alternate adding flour and milk: Gradually add the flour mixture and whole milk in alternating batches, starting and ending with the flour. This gentle integration helps maintain batter structure and moisture without overmixing.
- Divide and color batter: Divide the batter evenly into two separate bowls. Tint one half with pink gel food coloring and the other half with blue gel food coloring to achieve vibrant pastel colors without compromising batter consistency.
- Create marbled effect: Drop spoonfuls of pink and blue batter alternately into the prepared pans. Then, gently swirl the colors together using a knife to create a beautiful marbled pattern without fully blending the colors.
- Bake the cake: Place the pans in the preheated oven and bake for 25 to 30 minutes. The cakes are done when a toothpick inserted into the center comes out clean, indicating they are fully cooked.
- Cool the cakes: Let the cakes cool in their pans for about 10 minutes, then carefully transfer them onto wire racks to cool completely, preventing sogginess and preparing them for frosting.
- Frost and garnish: Once fully cooled, frost the layers with your preferred vanilla or cotton candy-flavored buttercream. Just before serving, garnish with light tufts of cotton candy to add a whimsical finishing touch and an extra burst of sweetness.
Notes
- Use gel food coloring to achieve vibrant pastel shades without thinning or altering the batter consistency.
- Add the cotton candy garnish right before serving to prevent it from melting or dissolving into the frosting.
- Store the cake covered at room temperature for up to 2 days to maintain freshness, or refrigerate if you need longer storage, though it’s best enjoyed fresh.