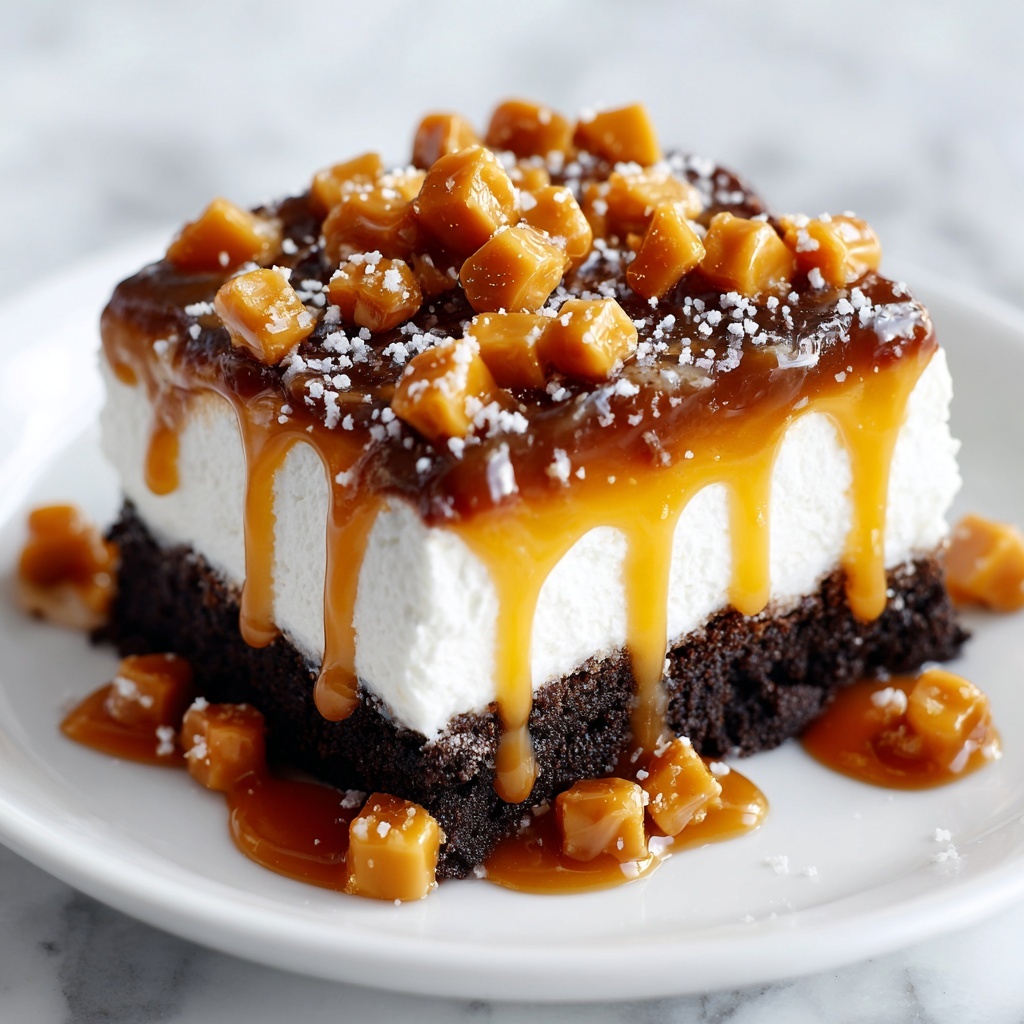
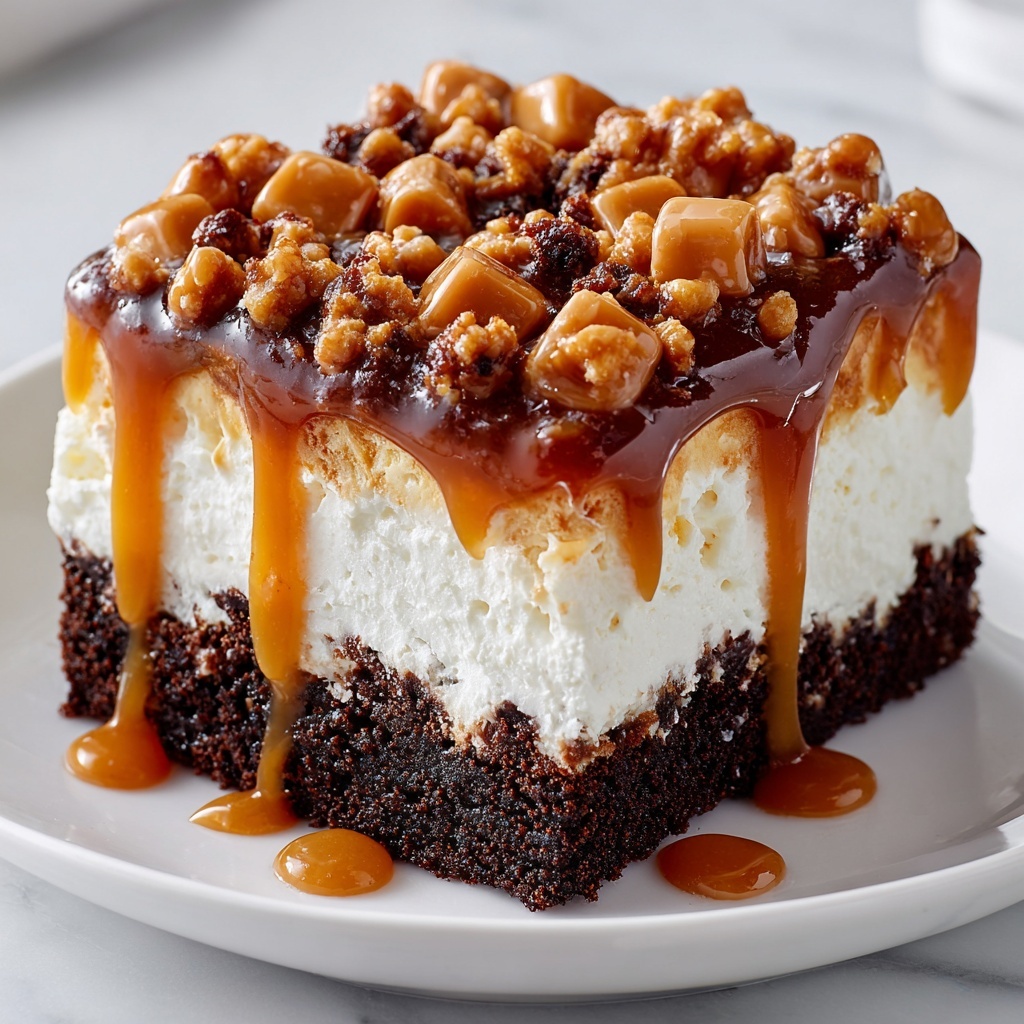
There is something irresistibly fun and decadent about the Butterfinger Candy Bar Poke Cake Recipe that makes it an instant favorite at any gathering. This dessert combines the rich chocolatey goodness of a classic cake with luscious caramel and sweetened condensed milk poured into perfect little pockets, creating a moist, flavorful base. Topped with fluffy whipped cream and a generous sprinkle of crunchy Butterfinger candy bars, every bite delivers a delightful contrast of textures and a nostalgic burst of peanut buttery crunch. Whether you’re treating your family or impressing friends, this poke cake is the ultimate crowd-pleaser that’s surprisingly easy to whip up, promising smiles and satisfied sweet cravings all around.
Ingredients You’ll Need
Gathering your ingredients is simple, yet each one plays a vital role in creating this dreamy dessert. From the rich chocolate cake mix to the iconic Butterfinger bars, these components work in harmony to craft irresistible layers of flavor and texture.
- Chocolate cake mix: Provides the moist, chocolaty base that’s both tender and rich.
- Sweetened condensed milk: Adds smooth sweetness and seeps perfectly into the cake’s holes for extra moisture.
- Caramel sauce: Gives a buttery, decadent layer that pairs beautifully with chocolate.
- Whipped topping: Offers a light, creamy finish that balances the cake’s richness.
- Butterfinger candy bars: Crush these for a crunchy, peanut-buttery topping that adds fun texture and flavor.
- Vanilla extract (optional): Enhances the overall flavor with a subtle warm note.
How to Make Butterfinger Candy Bar Poke Cake Recipe
Step 1: Bake Your Chocolate Cake
Start by preparing your chocolate cake mix as directed on the package—this straightforward step sets the foundation. Pour the batter into a greased 9×13-inch pan and bake it until it’s just perfectly done. When it comes out of the oven, allow it to cool just slightly, about 5 to 10 minutes, so it’s warm but not hot. This is the ideal time to prepare for the next fun step.
Step 2: Poke Holes for Perfect Flavor Infusion
Using the handle of a wooden spoon (or any sturdy but gentle tool), poke holes all over the warm cake’s surface. These holes are crucial—they create pockets where the luscious caramel and sweetened condensed milk mixture will settle, making every bite incredibly moist and flavorful.
Step 3: Mix and Pour the Caramel and Condensed Milk
In a small bowl, combine the sweetened condensed milk and caramel sauce, stirring until smooth and well blended. Then, slowly pour this mixture evenly over the entire cake, allowing it to seep into every hole you poked earlier. This step is what truly makes the Butterfinger Candy Bar Poke Cake Recipe stand out by adding unbeatable creaminess and caramel richness deep inside the cake.
Step 4: Chill and Add Whipped Topping
Let the cake cool completely to room temperature. This patience pays off because it gives the structures inside the cake time to set and hold all the delicious filling. Once cooled, gently spread the whipped topping across the surface, creating a cloud-like layer that contrasts perfectly with the dense chocolate cake and gooey caramel.
Step 5: Finish with Crushed Butterfinger Candy Bars
Top your masterpiece by sprinkling the crushed Butterfinger candy bars evenly over the whipped topping. These crunchy bits add that signature peanut butter and crispy texture everyone loves. For an extra-special touch, you can even mix some of the crushed Butterfinger pieces directly into the whipped topping before spreading it, further enhancing every forkful.
How to Serve Butterfinger Candy Bar Poke Cake Recipe

Garnishes
To make your Butterfinger Candy Bar Poke Cake Recipe look as delightful as it tastes, consider adding some finely chopped nuts or a drizzle of additional caramel sauce atop the crushed candy bars. Fresh berries or a sprinkle of cocoa powder can also provide a pop of color and subtle flavor contrast that elevates the dessert’s presentation.
Side Dishes
This cake pairs wonderfully with simple, classic sides like a scoop of vanilla ice cream or a dollop of freshly whipped cream. A light, fruity salad or even coffee can balance the richness of the dessert, creating a harmonious finish to your meal or party spread.
Creative Ways to Present
For an eye-catching twist, slice the poke cake into individual squares and serve them in mini clear cups with layers of whipped topping and crushed Butterfinger bars repeated inside. Alternatively, present the cake on a rustic wooden board garnished with candy bar shards and caramel drizzle for a festive look that’s perfect for celebrations.
Make Ahead and Storage
Storing Leftovers
Leftover Butterfinger Candy Bar Poke Cake Recipe keeps beautifully covered in the refrigerator for up to 3 days. Just make sure to store it in an airtight container to maintain moisture and keep the crushed candy bars crunchy for as long as possible.
Freezing
This cake isn’t the best candidate for freezing because the whipped topping and caramel layers can separate and change texture when thawed. It’s best to enjoy the cake fresh or within a few days refrigerated for optimal taste and texture.
Reheating
Since this is a chilled cake designed to be enjoyed cold, reheating is not recommended. If you want to soften it a bit, allow the cake to sit at room temperature for 15 to 20 minutes before serving—this makes it even more luscious but keeps the integrity of the dessert intact.
FAQs
Can I use homemade cake instead of a box mix?
Absolutely! While a box cake mix is convenient and consistent, you can use your favorite homemade chocolate cake recipe for a more personalized touch. Just make sure it’s baked in a 9×13-inch pan and cooled sufficiently before poking holes.
Is there a way to make this cake nut-free?
Yes! Butterfinger candy bars contain peanuts, so for a nut-free option, you could substitute with a similar crunchy candy bar without nuts or simply use crushed toffee bits or chocolate chips instead.
Can I add extra Butterfinger candy inside the cake?
Definitely! You can fold some crushed Butterfinger pieces into the whipped topping or sprinkle them between layers if you’re feeling creative. Just be careful not to make the cake too dense or overly sweet.
How long should I chill the cake before serving?
For the best flavor and texture, chill the Butterfinger Candy Bar Poke Cake Recipe for at least 2 hours. This allows the caramel and condensed milk mixture to fully absorb and the whipped topping to set nicely.
Can I make this cake a day ahead?
Yes, making this poke cake ahead of time is a great idea! Prepare it the day before your event and store it in the refrigerator to let the flavors meld together even more. Just add the crunchiest toppings last if you want to preserve maximum crispness.
Final Thoughts
If you’re looking for a dessert that brings together nostalgia, ease, and show-stopping flavor, the Butterfinger Candy Bar Poke Cake Recipe is the one to try. Every spoonful is a perfect harmony of moist chocolate cake, dreamy caramel, fluffy cream, and that iconic crunchy candy bar goodness. It’s a surefire way to make your dessert table the star of any occasion, and I promise it will quickly become one of your go-to favorites. So grab your ingredients, and let’s get poking—it’s cake time!
Print
Butterfinger Candy Bar Poke Cake Recipe
- Prep Time: 15 minutes
- Cook Time: 30 minutes
- Total Time: 2 hours 45 minutes
- Yield: 12 servings
- Category: Dessert
- Method: Baking
- Cuisine: American
Description
This Butterfinger Candy Bar Poke Cake is a decadent and easy-to-make dessert combining a moist chocolate cake soaked with a rich caramel and sweetened condensed milk mixture, topped with creamy whipped topping and crunchy crushed Butterfinger candy bars. Perfect for celebrations or satisfying a sweet tooth, it offers layers of chocolate, caramel, and peanuts in every bite.
Ingredients
Cake Ingredients
- 1 box chocolate cake mix (plus ingredients listed on the box)
Filling and Topping
- 1 (14 oz) can sweetened condensed milk
- 1 (12.25 oz) jar caramel sauce
- 1 (8 oz) tub whipped topping (thawed)
- 4 Butterfinger candy bars (crushed)
- ½ teaspoon vanilla extract (optional)
Instructions
- Prepare and Bake Cake: Preheat your oven and prepare the chocolate cake mix according to the package directions. Pour the batter into a 9×13-inch pan and bake until a toothpick inserted comes out clean. Once baked, allow the cake to cool for 5–10 minutes so it is warm but not hot.
- Poke Holes in Cake: Using the handle of a wooden spoon, gently poke holes all over the surface of the warm cake. These holes will allow the filling to soak deep into the cake, adding moisture and flavor.
- Make the Filling: In a small bowl, combine the sweetened condensed milk and caramel sauce; mix together until smooth and well blended. This mixture will infuse the cake with a sweet, creamy caramel flavor.
- Pour Filling Over Cake: Evenly pour the caramel-condensed milk mixture over the cake, allowing it to seep into the holes you poked earlier. This step ensures the cake stays moist and flavorful throughout.
- Cool Completely: Let the cake cool completely to room temperature to set the filling and avoid melting the topping.
- Add Whipped Topping: Spread the thawed whipped topping evenly over the surface of the cooled cake, creating a light and creamy layer.
- Sprinkle Crushed Butterfinger: Evenly sprinkle the crushed Butterfinger candy bars over the whipped topping for a crunchy, chocolatey peanut butter finish that contrasts beautifully with the softness below.
- Chill Before Serving: Refrigerate the cake for at least 2 hours to allow flavors to meld and the cake to set perfectly before slicing and serving.
Notes
- For extra Butterfinger flavor, stir half of the crushed candy bars into the whipped topping before spreading it on the cake.
- This cake can be made a day ahead and stored covered in the fridge, making it perfect for advance preparation.
- Use a sharp knife warmed in hot water to slice the cake for clean pieces.
- Try substituting peanut butter cups or other favorite candy bars for a variation.


