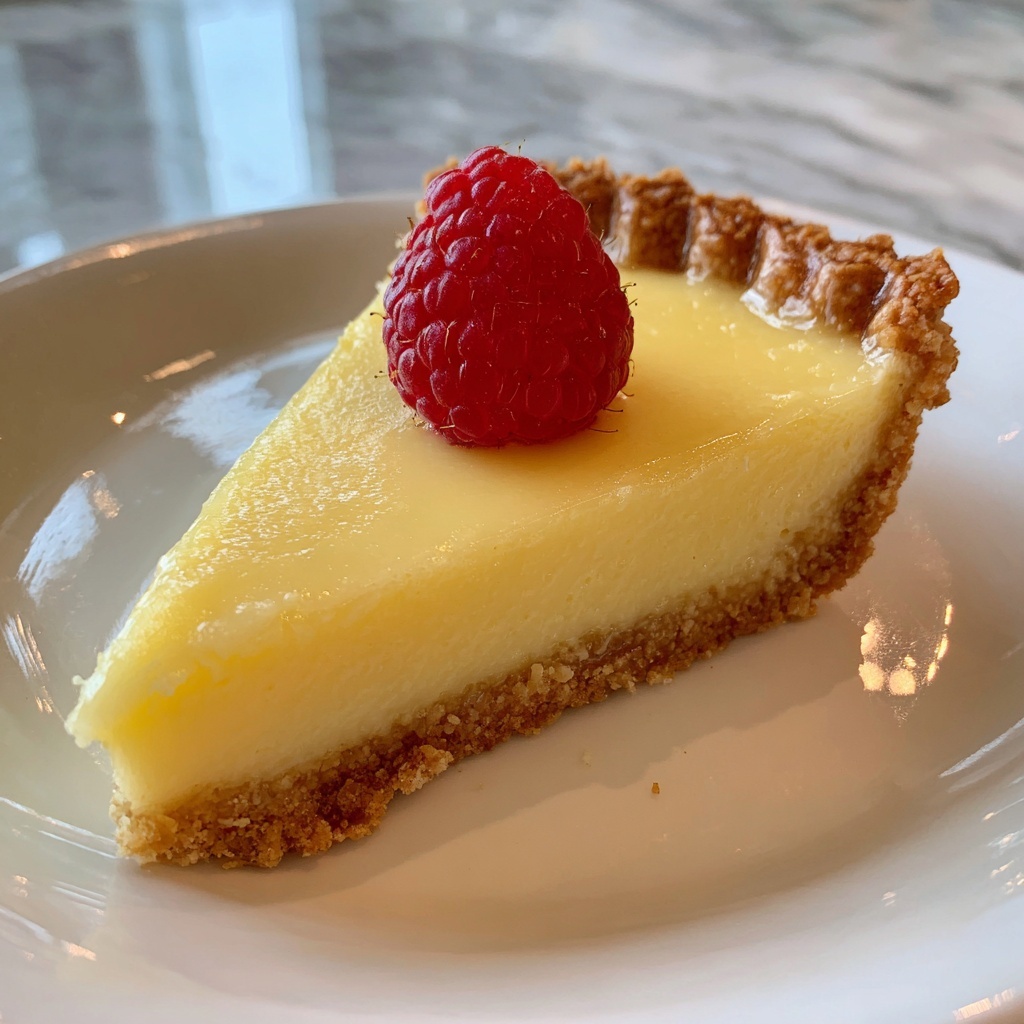
If you have a love for bright, tangy desserts that feel both refreshing and indulgent, then this Perfect Lemon Tart Recipe is about to become your new favorite. With a crisp, buttery crust and a luscious, silky lemon filling that balances sweetness with citrus zing, it’s a stunning centerpiece that’s guaranteed to impress at any gathering. Plus, the homemade whipped cream topping elevates every bite into a dreamy combination of creamy and tart that’s hard to resist.
Ingredients You’ll Need
Each ingredient in this Perfect Lemon Tart Recipe plays an essential role in crafting the ultimate balance of texture and flavor. From the buttery richness of unsalted butter to the zingy brightness of fresh lemon juice and zest, these simple yet essential ingredients come together to create a show-stopping dessert.
- All-purpose flour: The foundation for a flaky and tender tart crust that holds everything perfectly.
- Granulated sugar: Adds the necessary sweetness to both the crust and the lemon filling, balancing the tartness.
- Salt: Enhances all the flavors, giving the crust and filling more depth.
- Cold unsalted butter: Key for a flaky, buttery crust that melts in your mouth.
- Large egg yolk: Binds the dough and enriches the crust’s texture.
- Ice water: Keeps the dough cool, ensuring the perfect crunch after baking.
- Cornstarch: Thickens the lemon filling to the perfect, silky consistency.
- Lemon juice: The star ingredient for that unmistakable bright, refreshing flavor.
- Lemon zest: Adds an extra punch of citrus aroma and taste.
- Heavy cream: Whipped to fluffy peaks to provide a luscious topping that complements the tart filling.
- Vanilla extract: Introduces subtle warmth to the whipped cream for added flavor complexity.
- Fresh berries (optional): Perfect for a pop of color and a fresh, fruity touch as garnish.
How to Make Perfect Lemon Tart Recipe
Step 1: Prepare the Crust
Begin by whisking together the flour, sugar, and salt in a bowl. Adding cold, cubed butter next, use your fingers or a pastry cutter to work it into the flour until the mixture resembles coarse crumbs. This method is what makes your crust wonderfully flaky. Then, mix in the egg yolk and ice water just until the dough starts to hold together—don’t overwork it or the crust will be tough. Wrap it up and chill for an hour; this step is crucial for relaxing the gluten and keeping the butter firm, ensuring a crisp crust after baking.
Step 2: Bake the Crust
Preheat your oven to 375°F (190°C). Roll out the chilled dough and press it evenly into a 9-inch tart pan, trimming any excess. Chilling the pressed dough before baking helps prevent shrinking during the oven time. Next, line it with parchment paper and fill with pie weights or dried beans, then bake for 20 minutes to set the shape. Remove the weights and continue baking for another 5 to 10 minutes, until you see a lovely golden crust. After this, let your shell cool completely before adding the filling.
Step 3: Make the Lemon Filling
The filling is where the magic truly happens. In a saucepan, whisk together sugar, cornstarch, flour, and salt—this trio ensures your filling will thicken beautifully without any lumps. Slowly add water while stirring, then cook over medium heat until it thickens into a pudding-like consistency, about 3 to 5 minutes. Lower the heat and carefully whisk in the egg yolks, cooking for an additional two minutes to cook out any raw egg flavor. Remove from the heat, then stir in butter, fresh lemon juice, and zest until silky smooth and glossy.
Step 4: Assemble and Chill
Pour that warm, fragrant lemon filling into your cooled tart shell, spreading it evenly. Then comes the hardest part—refrigerate the tart uncovered for at least 4 hours, allowing it to fully set to the perfect silky firmness. This patience pays off with every luscious slice you serve.
Step 5: Prepare the Whipped Cream
Whip the heavy cream with sugar and vanilla extract until stiff peaks form; this creamy topping adds a dreamy softness that balances the tartness of the lemon filling. If you’re feeling fancy, you can pipe it onto the tart for a gorgeous presentation.
Step 6: Serve and Enjoy
Once chilled, top your tart generously with whipped cream and scatter fresh berries for a burst of color and flavor. Slice and get ready for those joyful “wow” moments from your guests.
How to Serve Perfect Lemon Tart Recipe

Garnishes
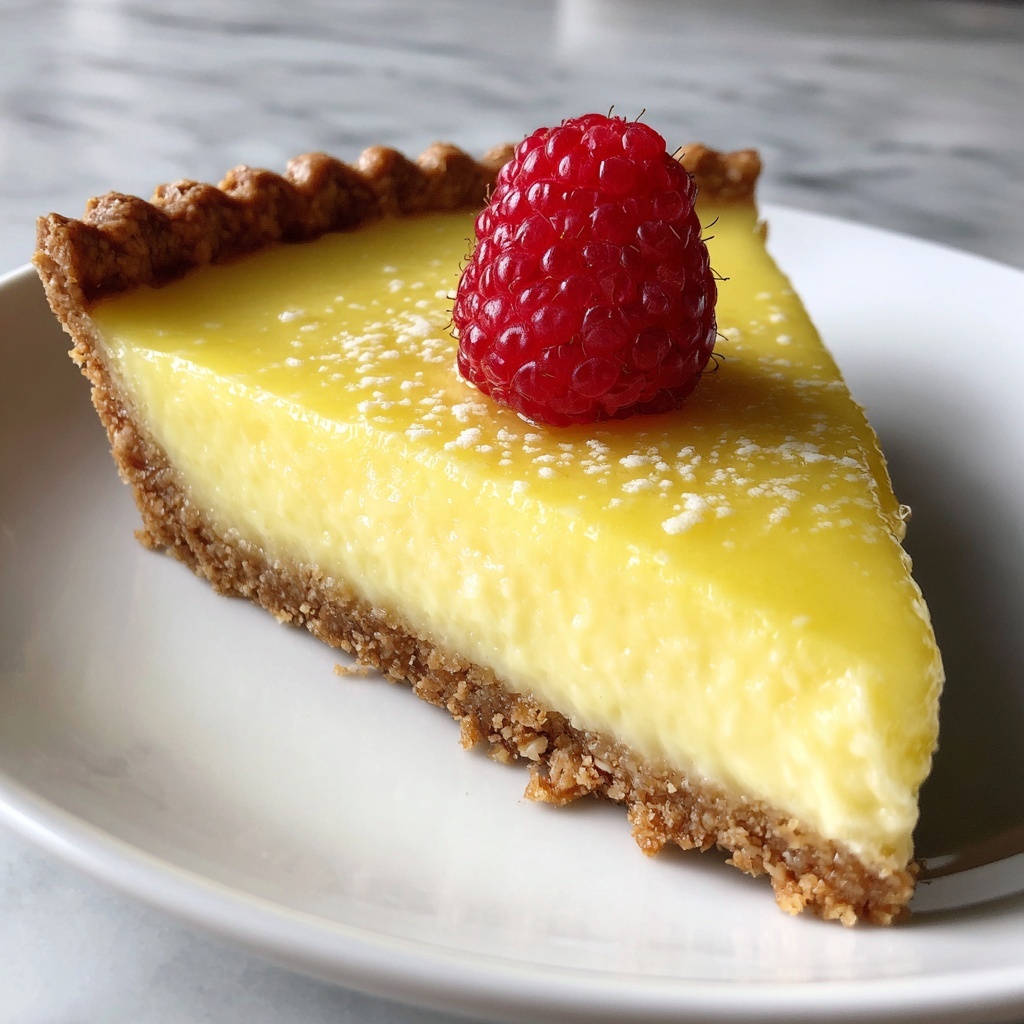
The beauty of the Perfect Lemon Tart Recipe is in its simplicity, but a few thoughtful garnishes can really elevate the experience. Fresh berries like raspberries, blueberries, or blackberries bring a sweet contrast and appealing color. A sprinkle of finely grated lemon zest or a few edible flowers can also make for an elegant finishing touch.
Side Dishes
Because this tart is wonderfully rich and citrusy, it pairs wonderfully with light accompaniments. Consider a crisp green salad with a lemon vinaigrette or a refreshing glass of sparkling water infused with mint and lemon slices. These light sides refresh the palate without overwhelming the star of the show.
Creative Ways to Present
For a playful twist, serve mini versions of this tart in individual tartlet pans—perfect for parties or casual gatherings. Another idea is to drizzle a raspberry coulis elegantly around each slice or dust the top with powdered sugar right before serving to add a touch of sweetness and visual appeal.
Make Ahead and Storage
Storing Leftovers
Once assembled and chilled, your Perfect Lemon Tart Recipe will keep beautifully in the refrigerator for up to 3 days. Store it covered loosely with plastic wrap or in an airtight container to maintain freshness and prevent it from absorbing any fridge odors.
Freezing
If you want to enjoy this tart at a later time, you can freeze it without the whipped cream topping for up to one month. Wrap it tightly in plastic wrap followed by foil to avoid freezer burn. Thaw overnight in the refrigerator before serving, then prepare fresh whipped cream to top it.
Reheating
This tart is best enjoyed cold or at room temperature, so reheating is generally not recommended as it can affect the texture of the filling and crust. If you prefer it slightly warmer, allow it to sit at room temperature for 15 to 20 minutes before slicing and serving.
FAQs
Can I make the tart crust gluten-free?
Absolutely! Substitute the all-purpose flour with a gluten-free flour blend designed for baking. Just be mindful that the texture might be slightly different, but the flavor will still be delightful.
Is it necessary to use both lemon juice and zest?
Yes, both are important. Lemon juice gives the tart its characteristic tang and acidity, while the zest adds aromatic oils that deepen the lemon flavor, making the filling more vibrant and complex.
Can I use bottled lemon juice instead of fresh?
Fresh lemon juice is recommended for its bright and natural flavor which makes a big difference in this recipe. Bottled lemon juice tends to be less fresh and can alter the tartness and aroma.
What can I use instead of pie weights?
If you don’t have pie weights, dried beans, rice, or even sugar can work perfectly for blind baking the crust, helping to keep it flat and prevent puffing up.
How do I know when the lemon filling is fully set?
After refrigerating for at least 4 hours, the filling should be firm to the touch and not jiggle when you gently shake the tart pan. This indicates it has fully set and is ready to serve.
Final Thoughts
This Perfect Lemon Tart Recipe is one of those desserts that brings joy with every bite and impresses without being complicated. Its balance of buttery crust, smooth and tangy lemon filling, and fluffy whipped cream topping is simply irresistible. I can’t wait for you to try it yourself and discover just how delightful homemade tart-making can be!
Print
Perfect Lemon Tart Recipe
- Prep Time: 1 hour 20 minutes
- Cook Time: 35 minutes
- Total Time: 4 hours 55 minutes
- Yield: 8 servings
- Category: Dessert
- Method: Baking
- Cuisine: French
Description
This Perfect Lemon Tart recipe features a buttery, flaky crust filled with a smooth, tangy lemon custard and topped with fluffy whipped cream and fresh berries. With a balance of sweetness and citrus zing, it’s an elegant dessert that’s sure to impress for any occasion.
Ingredients
For the Crust
- 1 cup all-purpose flour
- 2½ tbsp granulated sugar
- ¼ tsp salt
- 6 tbsp cold unsalted butter, cut into pieces
- 1 large egg yolk
- 4 tsp ice water
For the Filling
- 1¼ cups granulated sugar
- ⅓ cup cornstarch
- 2 tbsp all-purpose flour
- ½ tsp kosher salt
- 5 large egg yolks
- ¼ cup unsalted butter
- ¼ cup fresh lemon juice
- 1 tbsp lemon zest
For the Whipped Cream
- 1¼ cups heavy cream
- 2 tbsp granulated sugar
- 1 tsp vanilla extract
For Garnish (optional)
- Fresh berries
Instructions
- Prepare the Crust: In a bowl, whisk together the flour, granulated sugar, and salt. Add the cold unsalted butter pieces and use a pastry cutter or your fingers to combine until the mixture resembles coarse crumbs. Stir in the egg yolk and ice water slowly until the dough starts to come together. Wrap the dough in plastic wrap and chill it in the refrigerator for 1 hour to firm up.
- Bake the Crust: Preheat your oven to 375°F (190°C). Roll out the chilled dough and press it evenly into a 9-inch tart pan. Trim any excess dough from the edges. Chill the crust in the fridge for 20 minutes to prevent shrinkage during baking. Line the crust with parchment paper and fill with pie weights or dried beans. Bake for 20 minutes, then remove the weights and parchment and bake for an additional 5 to 10 minutes until the crust is golden brown. Let it cool completely.
- Make the Filling: In a medium saucepan, whisk together the granulated sugar, cornstarch, flour, and kosher salt. Slowly add water to the dry mixture, stirring constantly, and place the pan over medium heat. Cook the mixture, stirring frequently, until it thickens, about 3 to 5 minutes. Reduce the heat to low and whisk in the 5 egg yolks. Continue cooking for 2 more minutes, stirring constantly to prevent curdling. Remove the pan from heat and stir in the butter, fresh lemon juice, and lemon zest until the filling is smooth and glossy.
- Assemble the Tart: Pour the warm lemon filling into the cooled baked crust and smooth the top with a spatula. Refrigerate the tart for at least 4 hours, or until fully set and chilled.
- Prepare the Whipped Cream: In a mixing bowl, beat the heavy cream with granulated sugar and vanilla extract until stiff peaks form, creating a light and fluffy whipped cream.
- Serve: Once the lemon filling is set, top the tart with the freshly whipped cream and, if desired, garnish with fresh berries. Slice and enjoy this refreshing and elegant dessert.
Notes
- Ensure the butter is very cold when making the crust to achieve a flaky texture.
- Chilling the crust before baking prevents shrinking during the cooking process.
- Stir the filling constantly when cooking to avoid lumps or curdling of eggs.
- For extra tartness, add more lemon zest or juice to the filling based on preference.
- The tart requires at least 4 hours of chilling to set properly, so plan ahead.
- Fresh berries not only add color but also complement the lemon flavor beautifully.


